YAMAHA XV920 CAFE RACER
Purchase
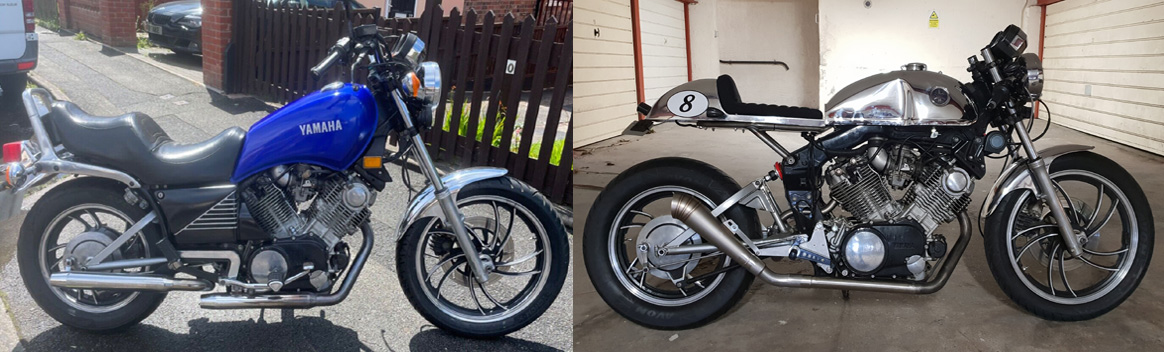
I have fancied a V-twin for some time, and had looked at a number of Virago-based cafe racers. So when this US-spec 1983 920J model came up, as a running bike and at the right price, I had to go for it.
Inspection and Stripdown
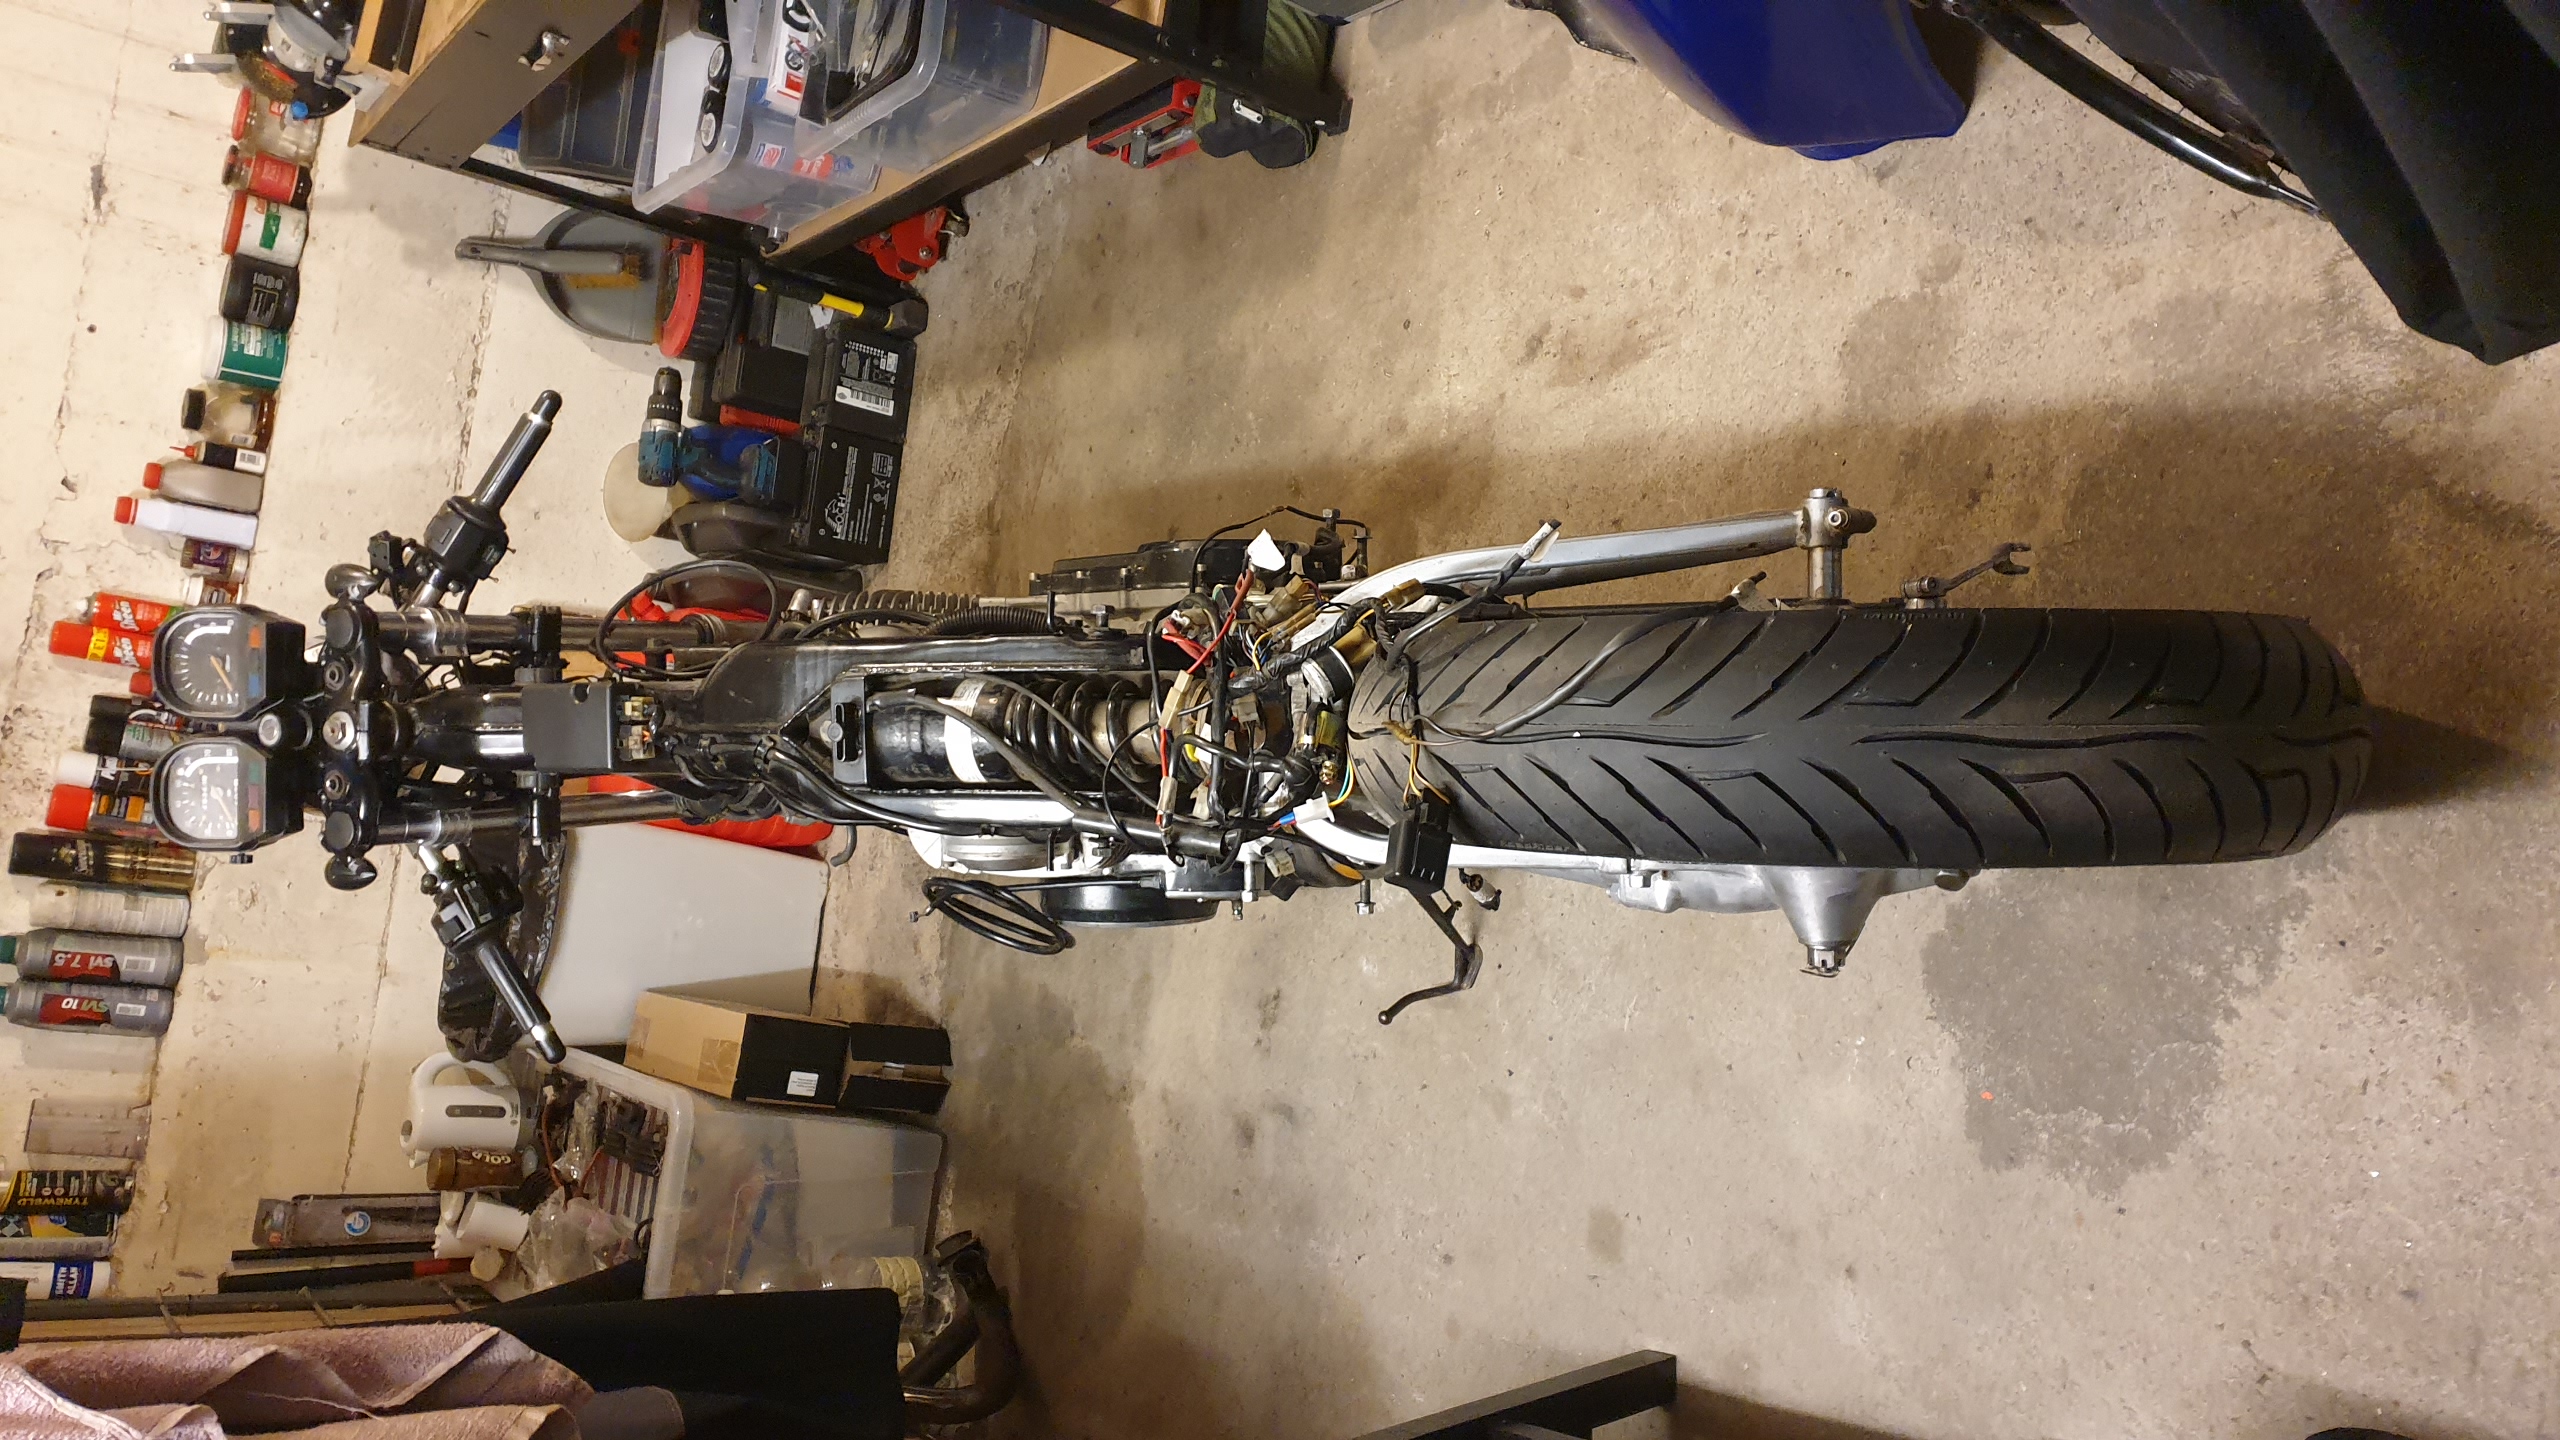
The bike hadn't been run for many years until the chap I bought it from had changed the oil and given it a quick run up the road. The engine sounded fine so I fitted new tyres and it sailed through its Manx inspection. I then stripped all extraneous items off it and the underlying condition of the bike was pretty good. Even better now it had been put on a 'diet' it looked really slim.
Rearsets, Clipons and Brakes
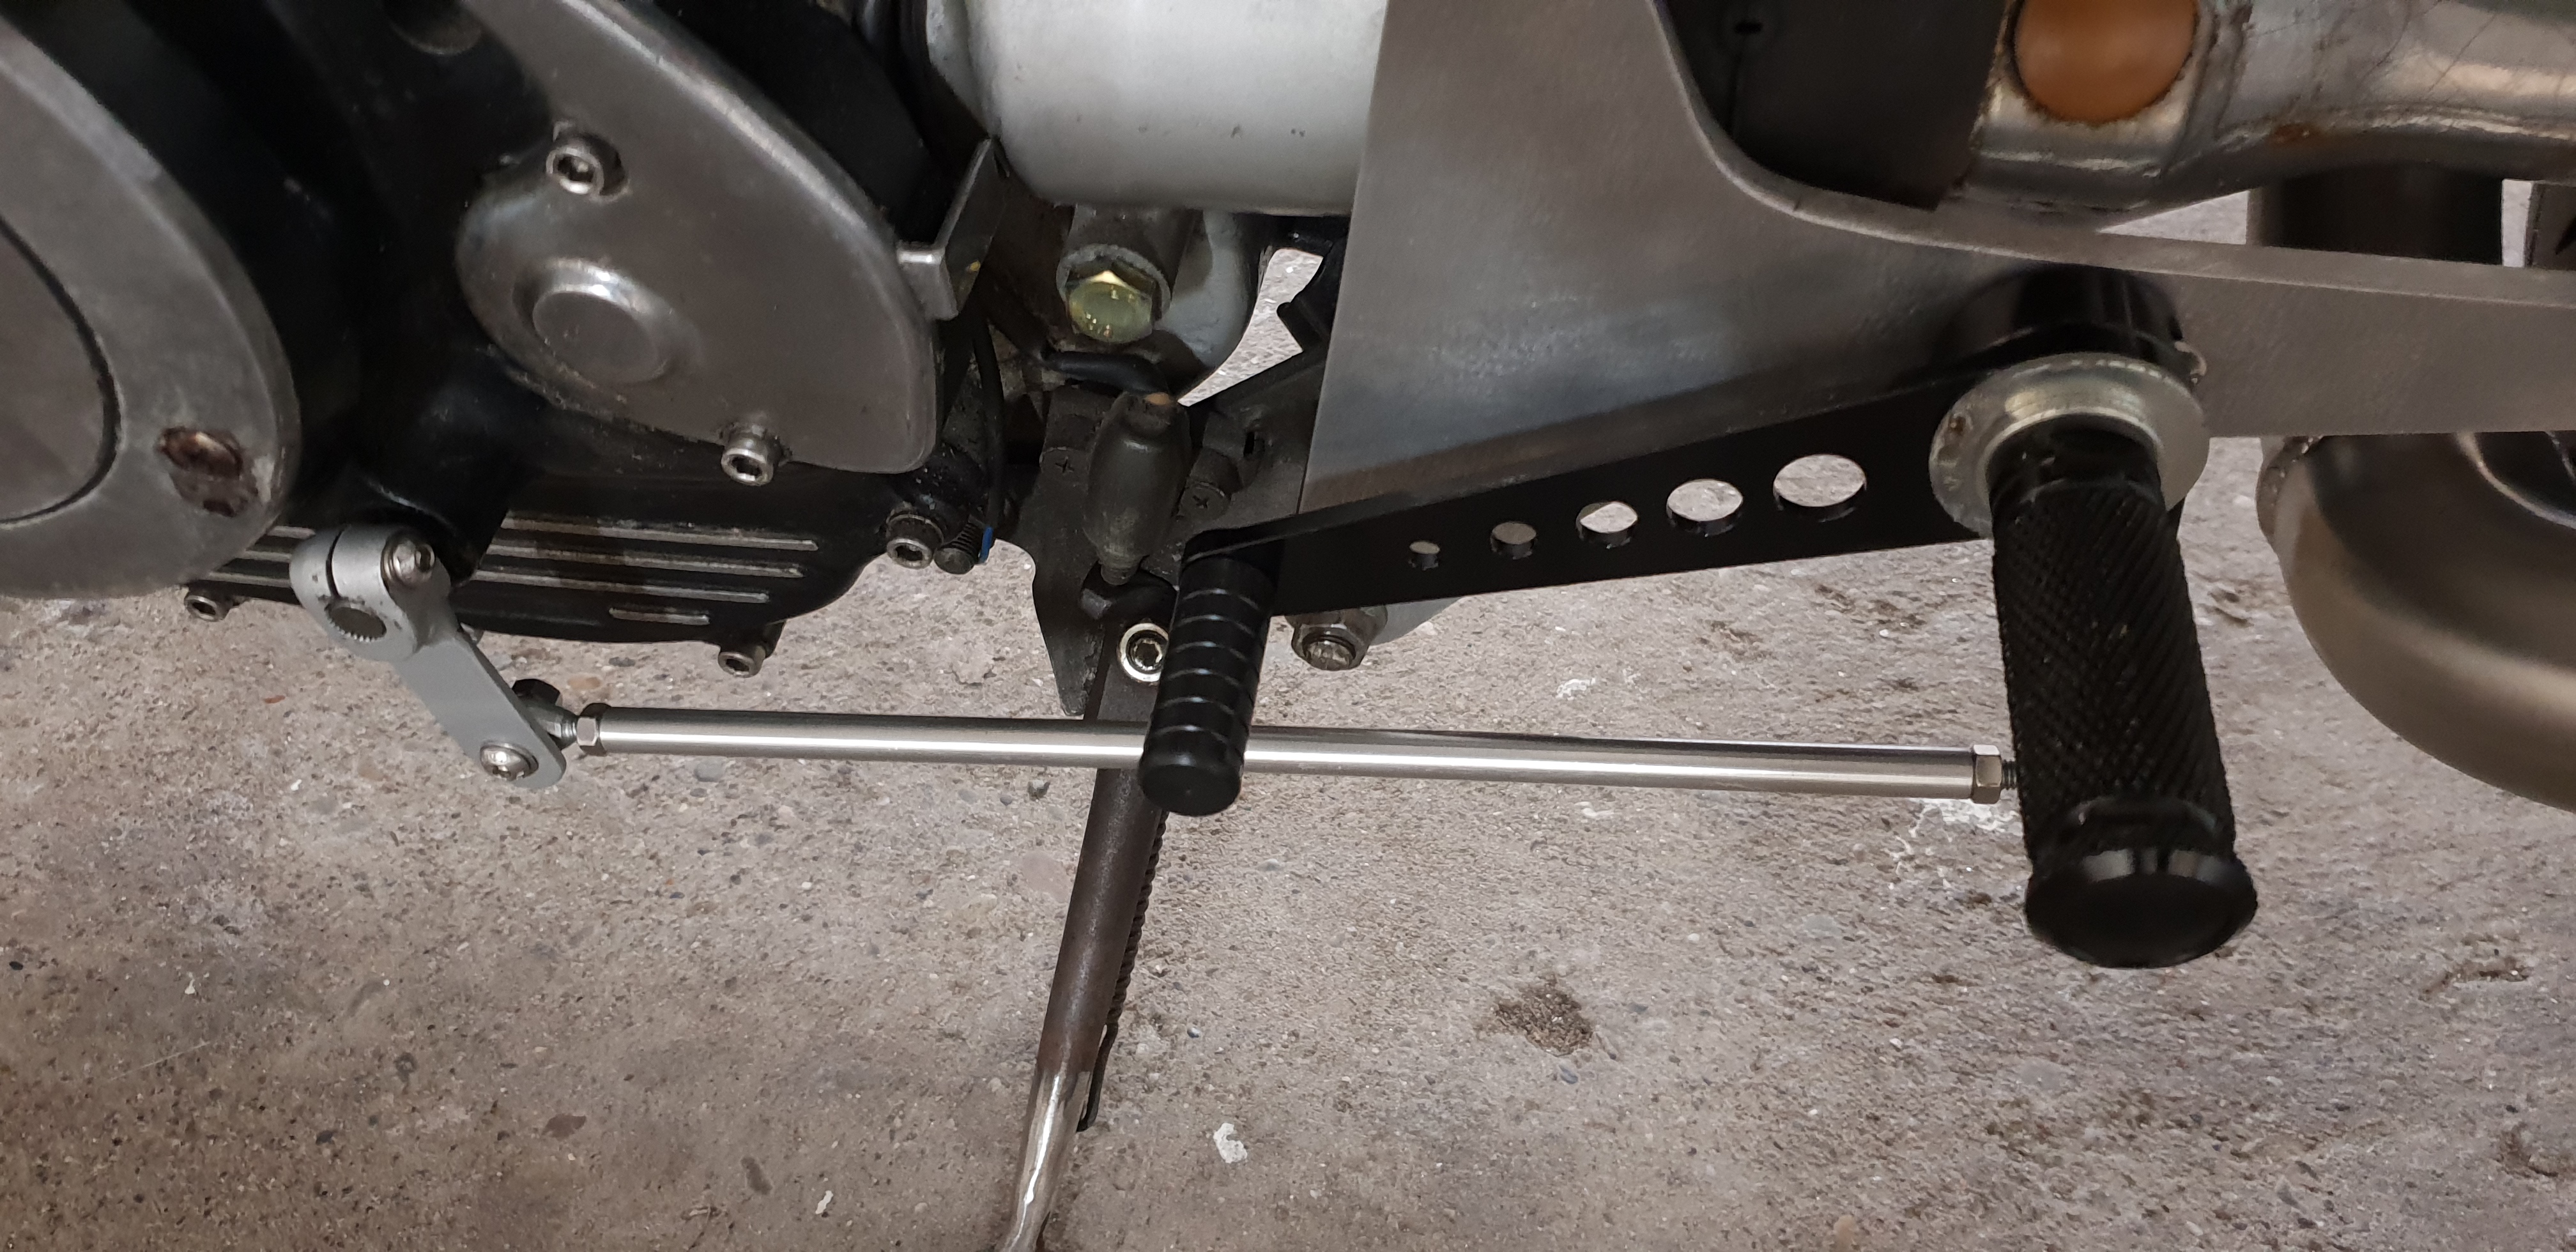
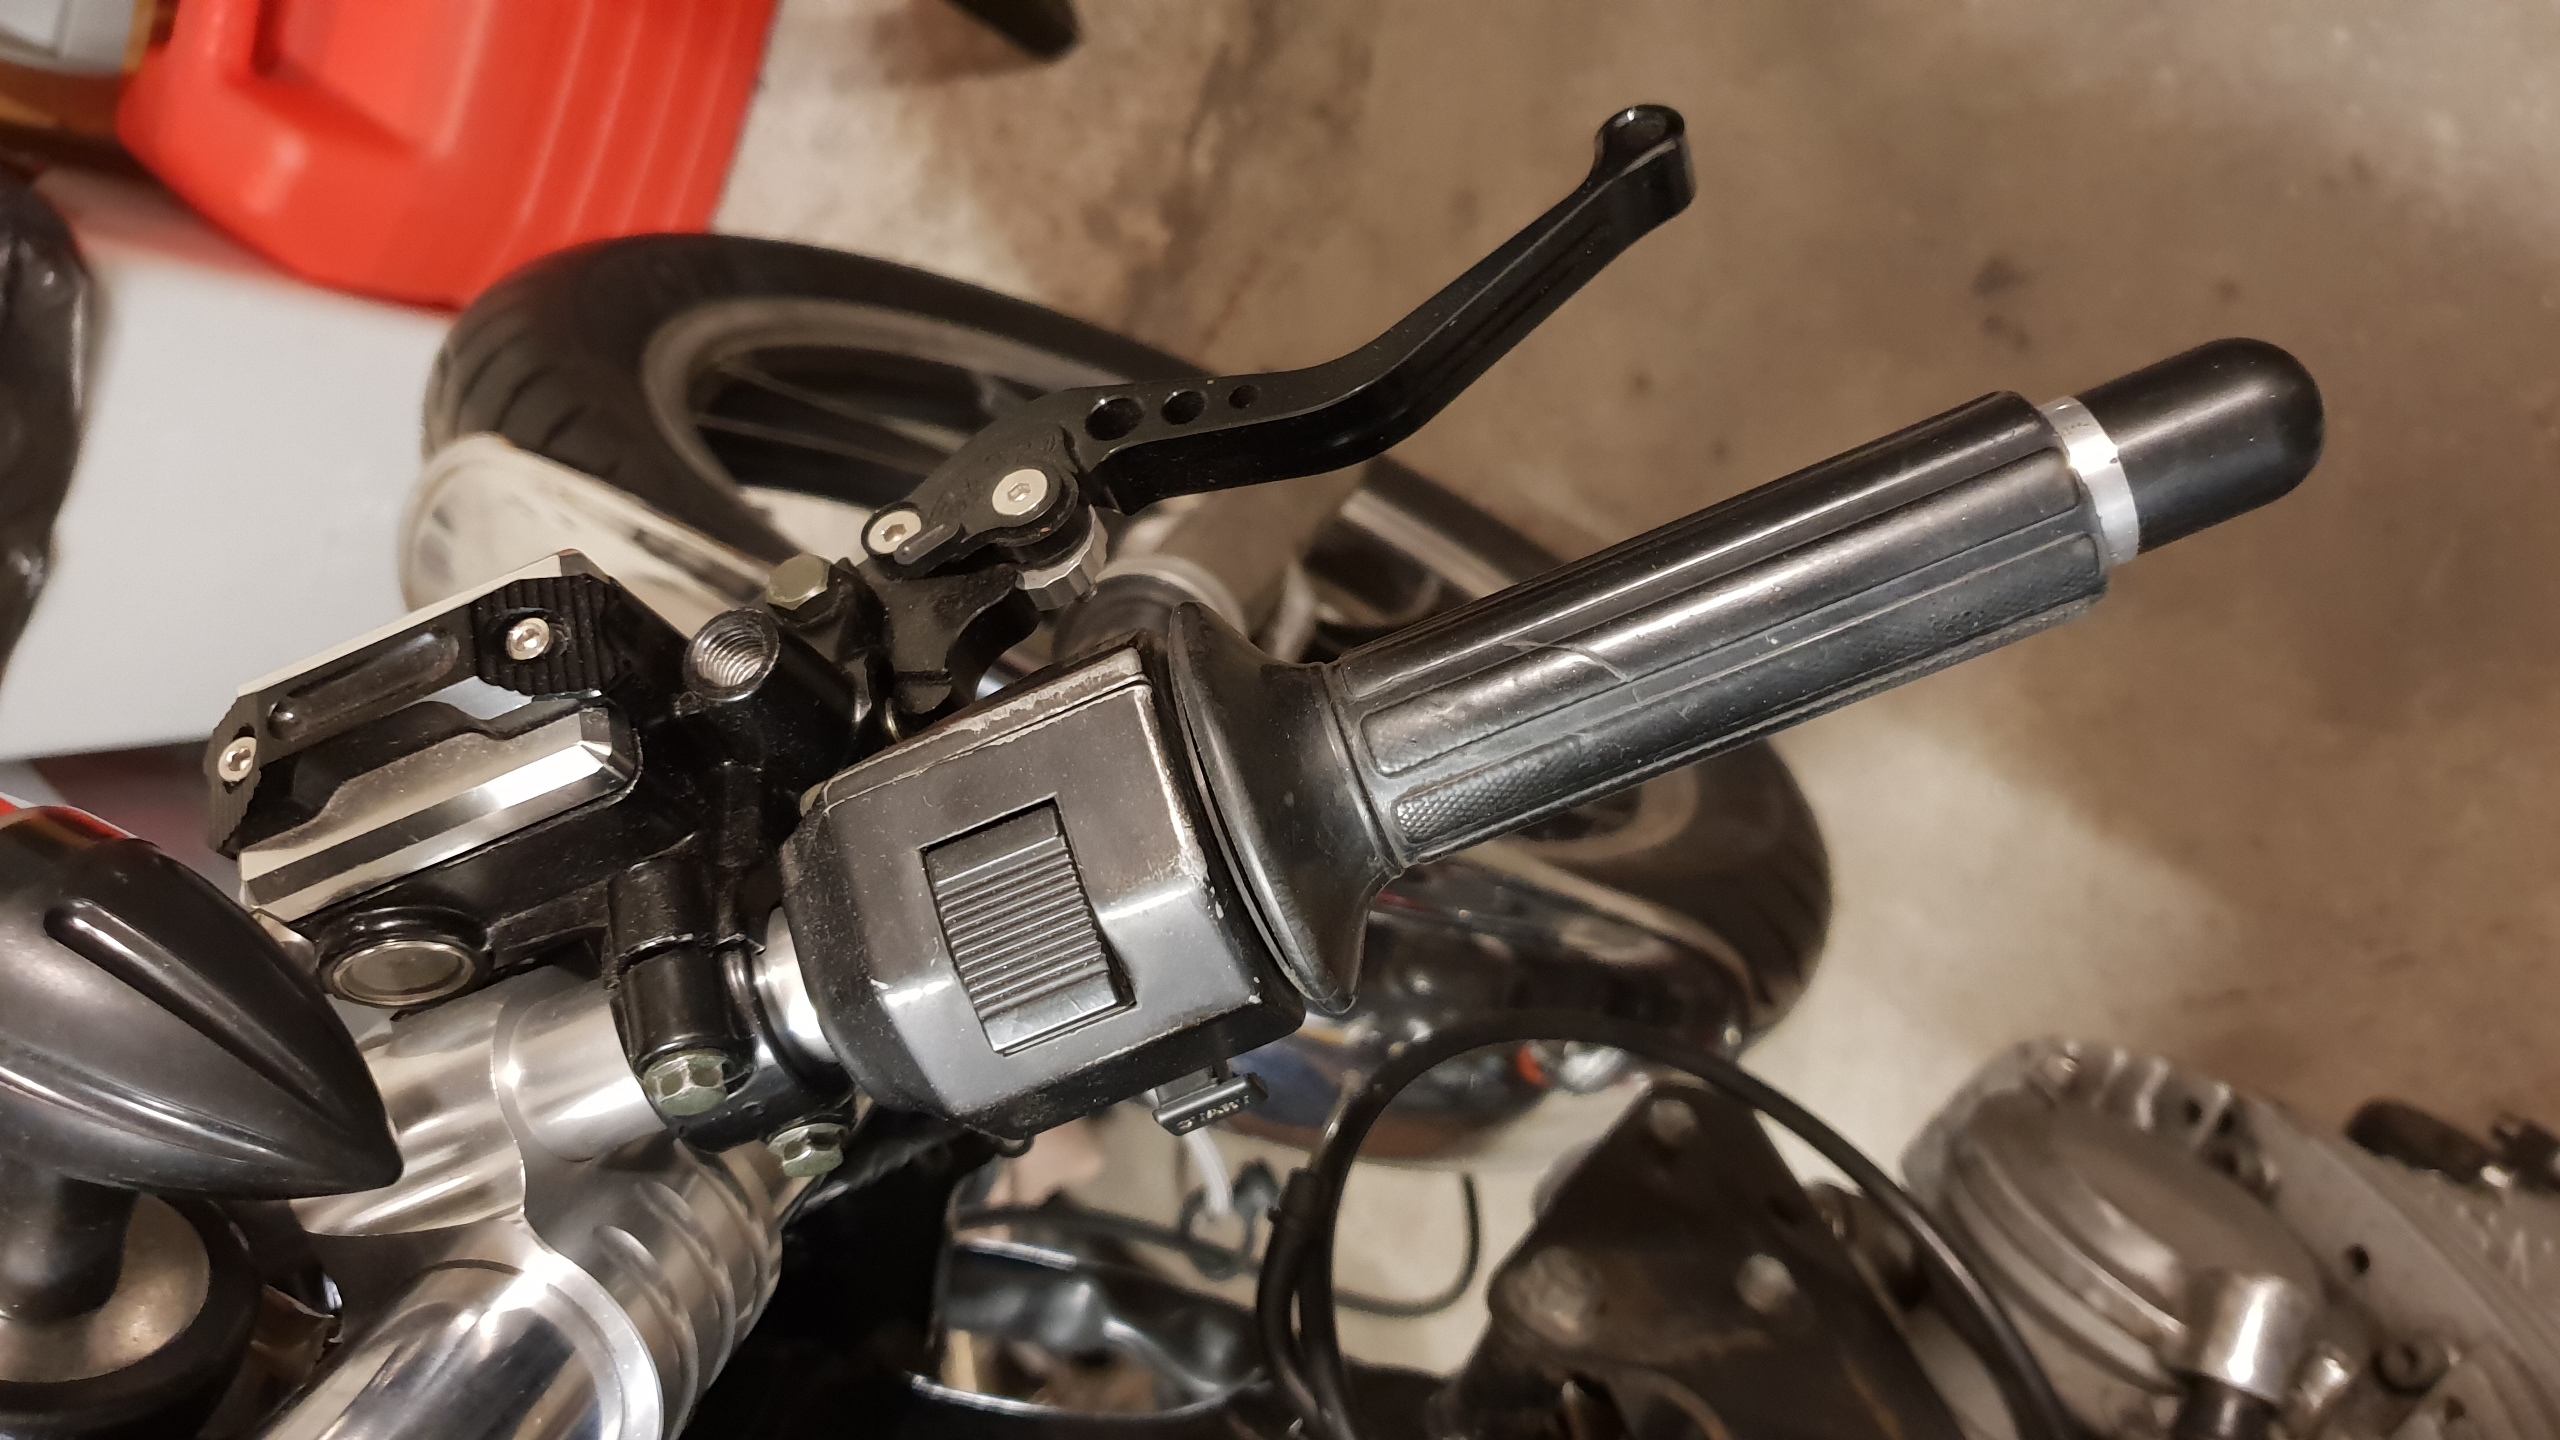
All the other builds I'd seen had retained the stock triangular rear footrest hangers for mounting rear-sets, but to me they looked heavy and unwieldy. So I decided to fabricate my own from 8mm aluminium plate, which necessitated the creation of wooden templates to get the sizing, hole positions and spacing correct. The new gearchange linkage required an extension at the rear to lower it enough so it didn't foul the pedal on change. Universal clipons were slotted over the stock forks, along with adjustable levers.
As for the brakes the rear linings were cleaned up, and fortunately it turned out there was just enough room to run the standard link bar through to the right pedal with minimal bending, while a braided hose and new SBS pads were installed at the front.
Tank, Seat and Subframe
Althougjh I'm not normally a big fan of chrome, for once I could see it being a great look for this bike. I also loved the Benelli Mojave-style tank often fitted to Viragos. These excellent units came from a bespoke fabricator in Wales (Colyn James, 07971 651258), although it took a great deal of trial and error to get the tank in the right place, with foam padding at the rear, and to fabricate and position small aluminium mounts at the sides that were bolted to the frame, and a threaded tube at the front that was welded to it. The subframe was supplied by Cafe Racer Webshop, with the seat bolted to it.
Suspension
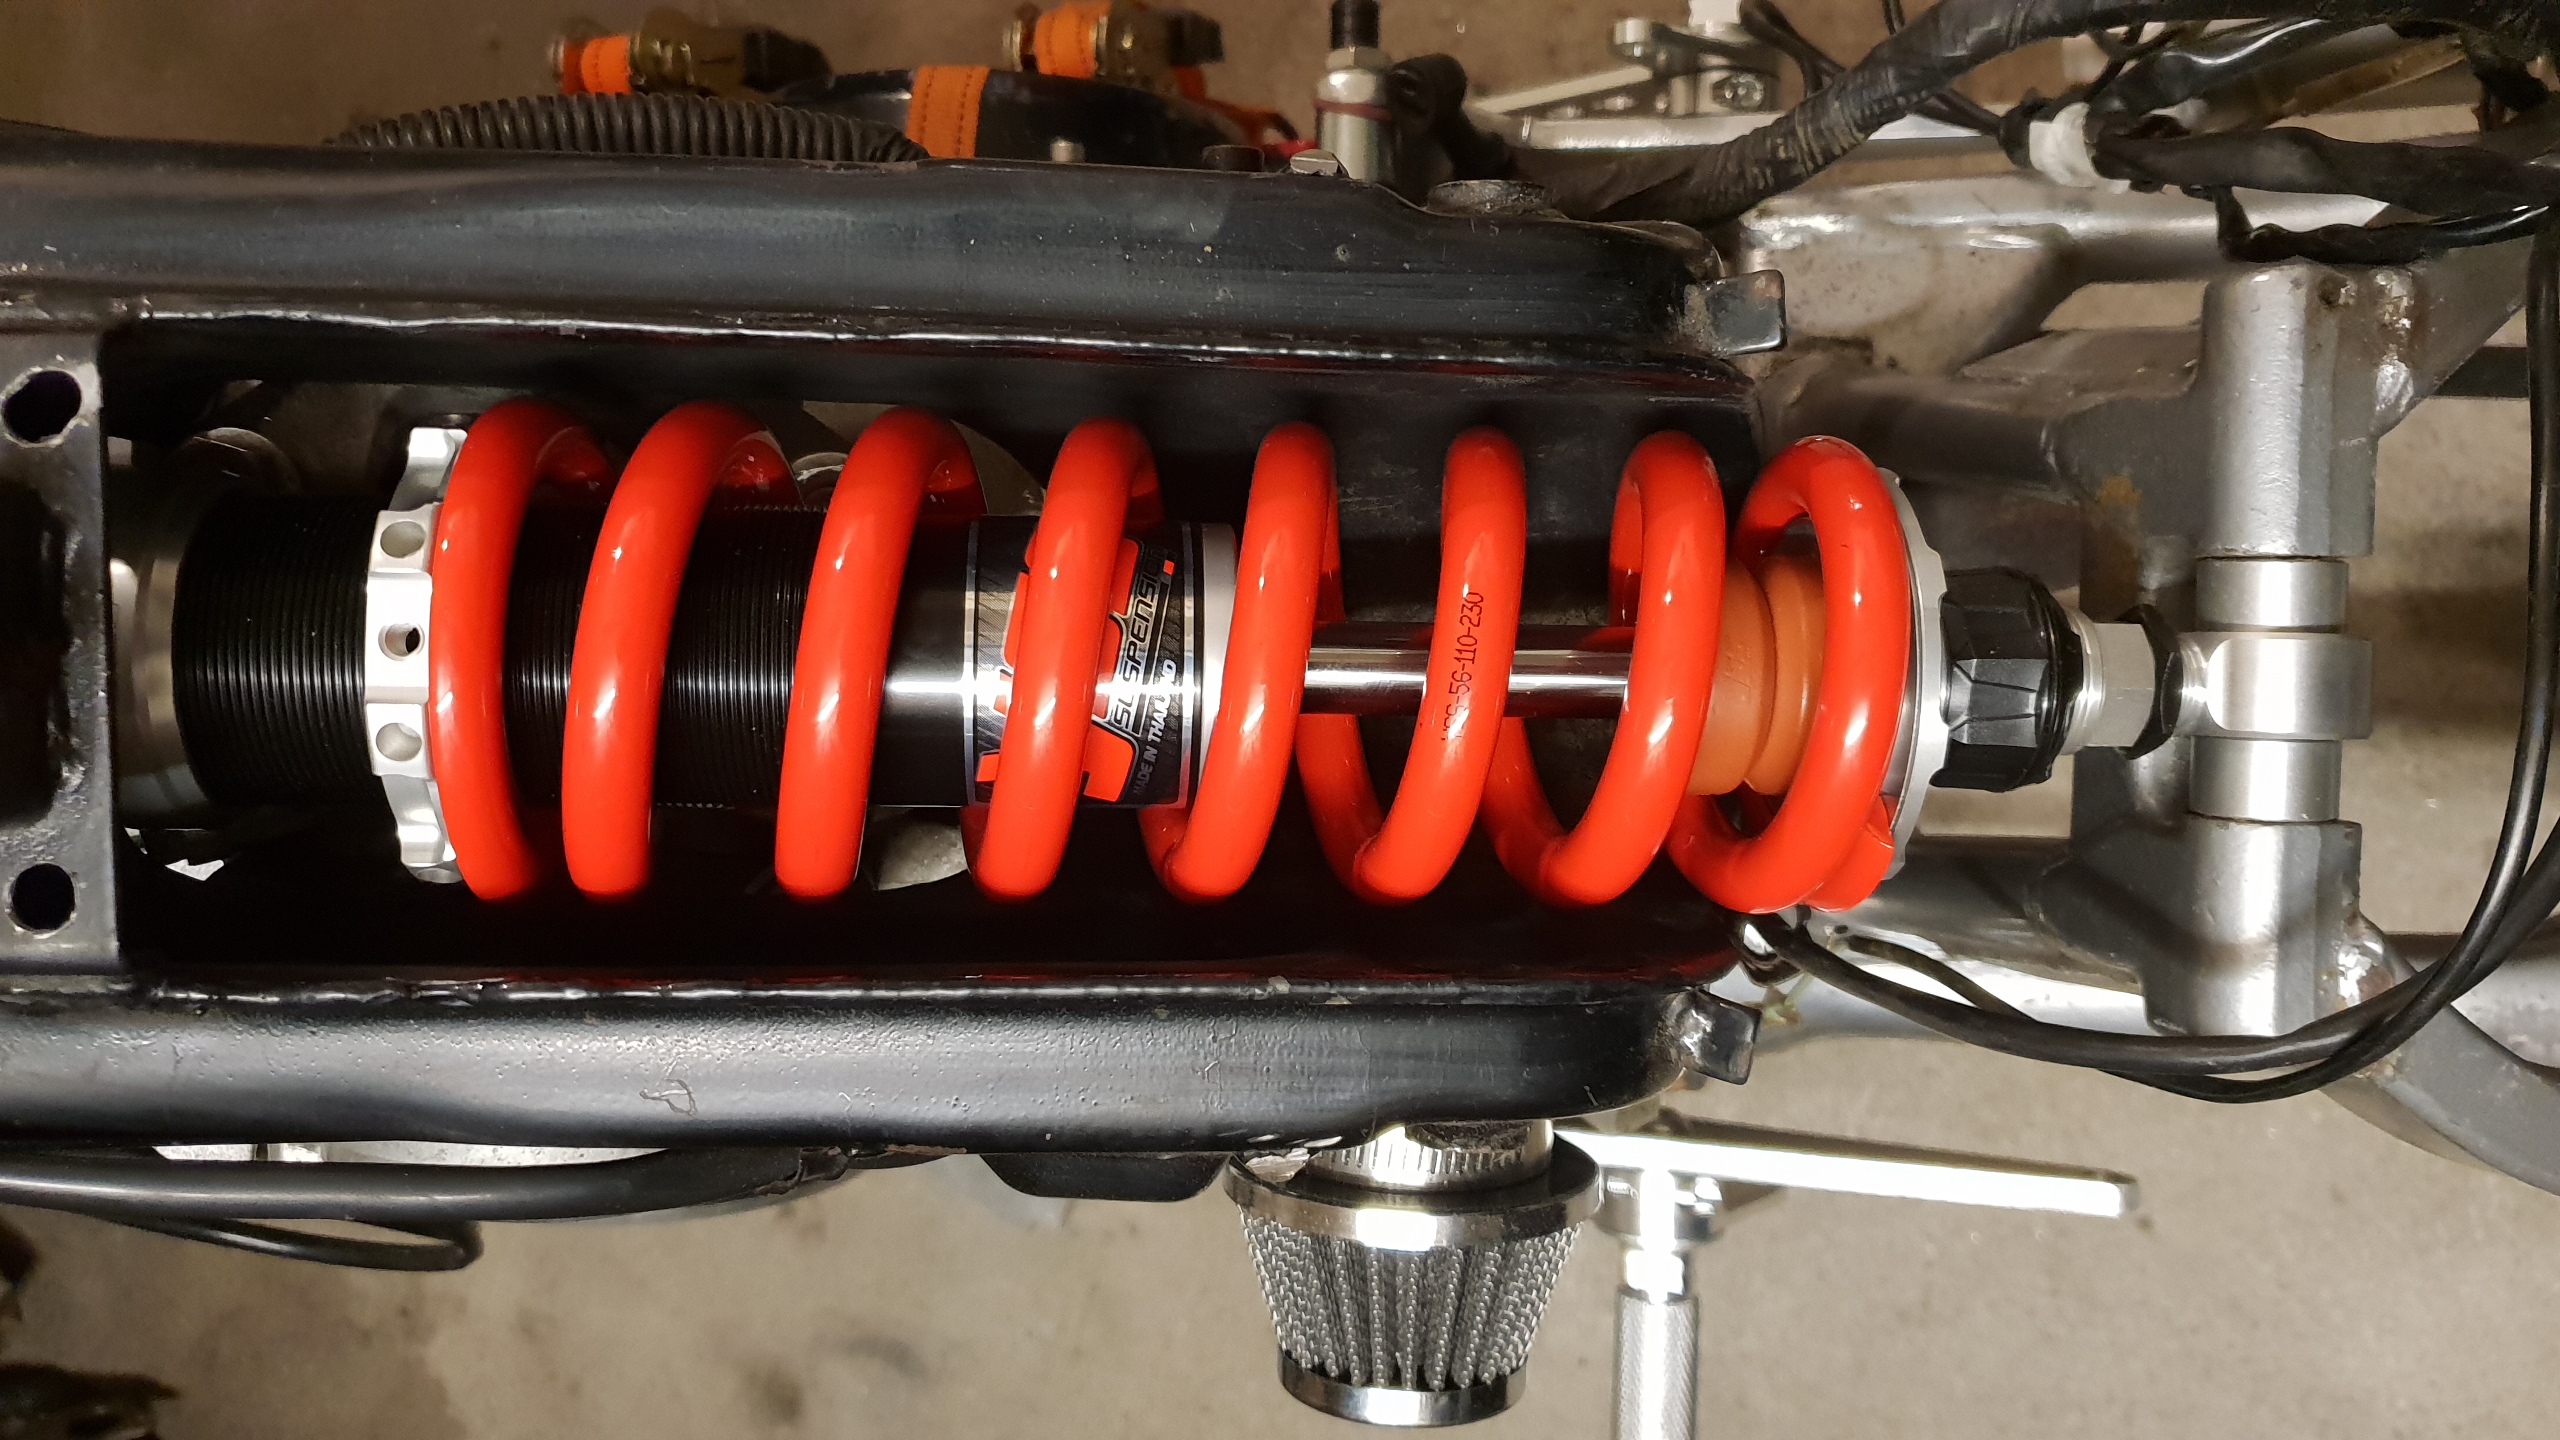
I stripped the forks and fitted new seals, along with YSS progressive springs made to order by Firefox Racing. I also disconnected the air pressure pipes and sealed up the remaining holes. To lower the front end I lifted them through the yokes by a massive 2" - it remains to be seen how this will affect the handling. Meanwhile at the rear a YSS replacement monoshock MZ456-385TRL-06-05 was a must (456 means 45mm piston, 16mm shaft; 385 means length in mm) and slotted straight in.
Air Filter and Carburation
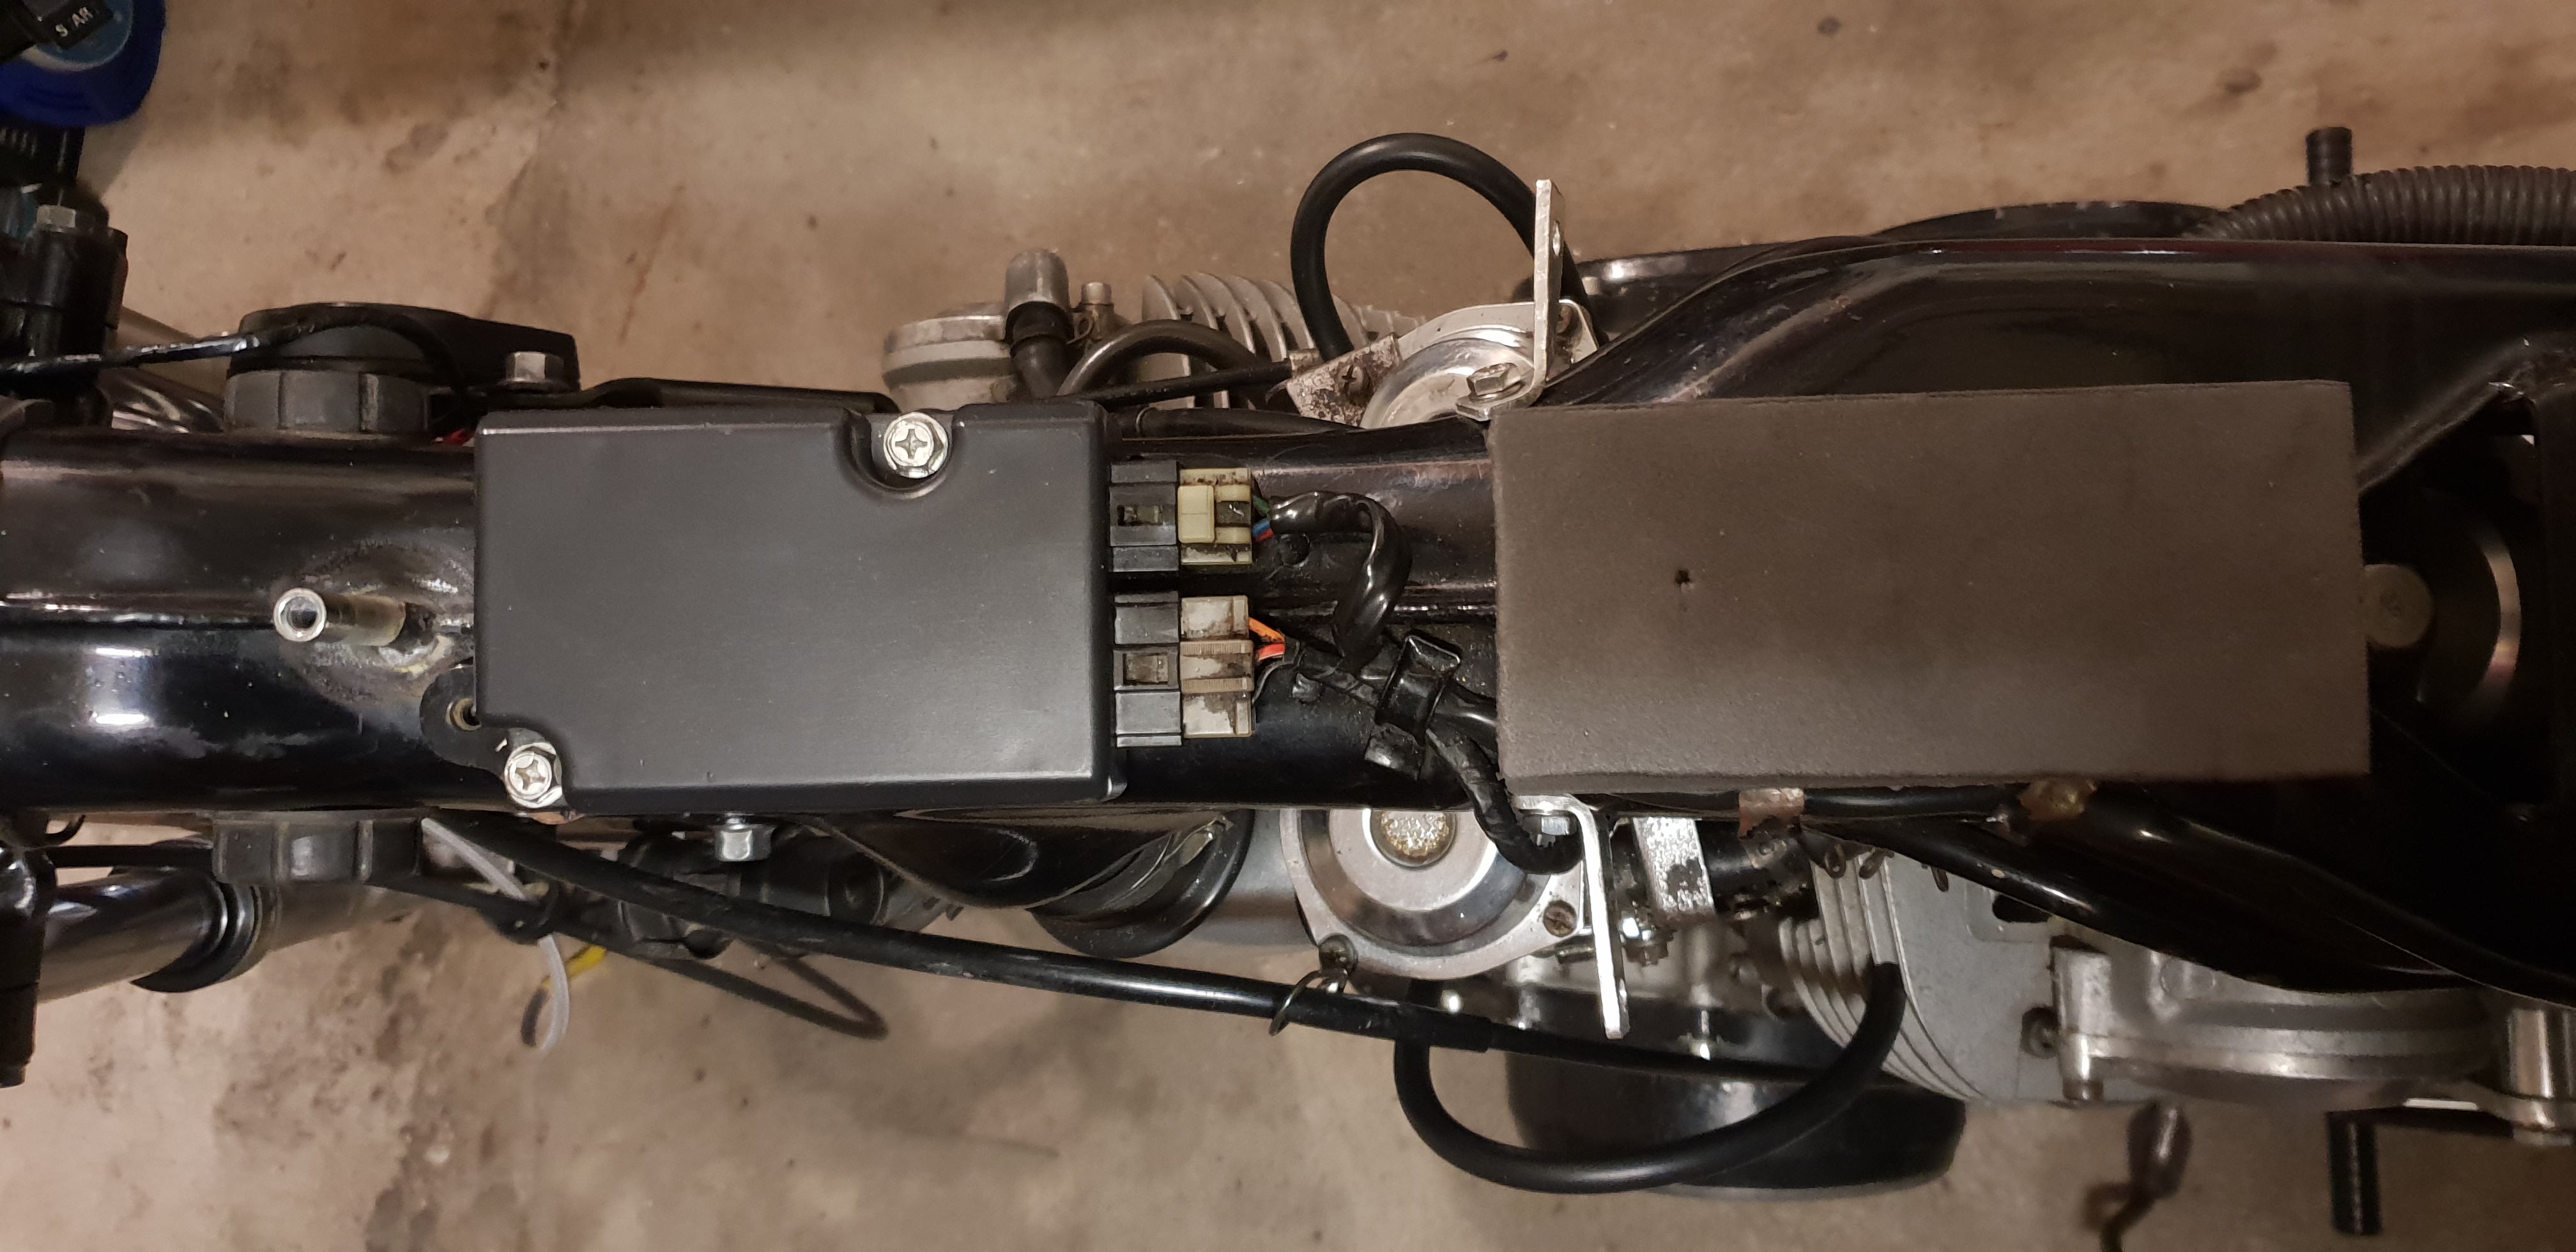
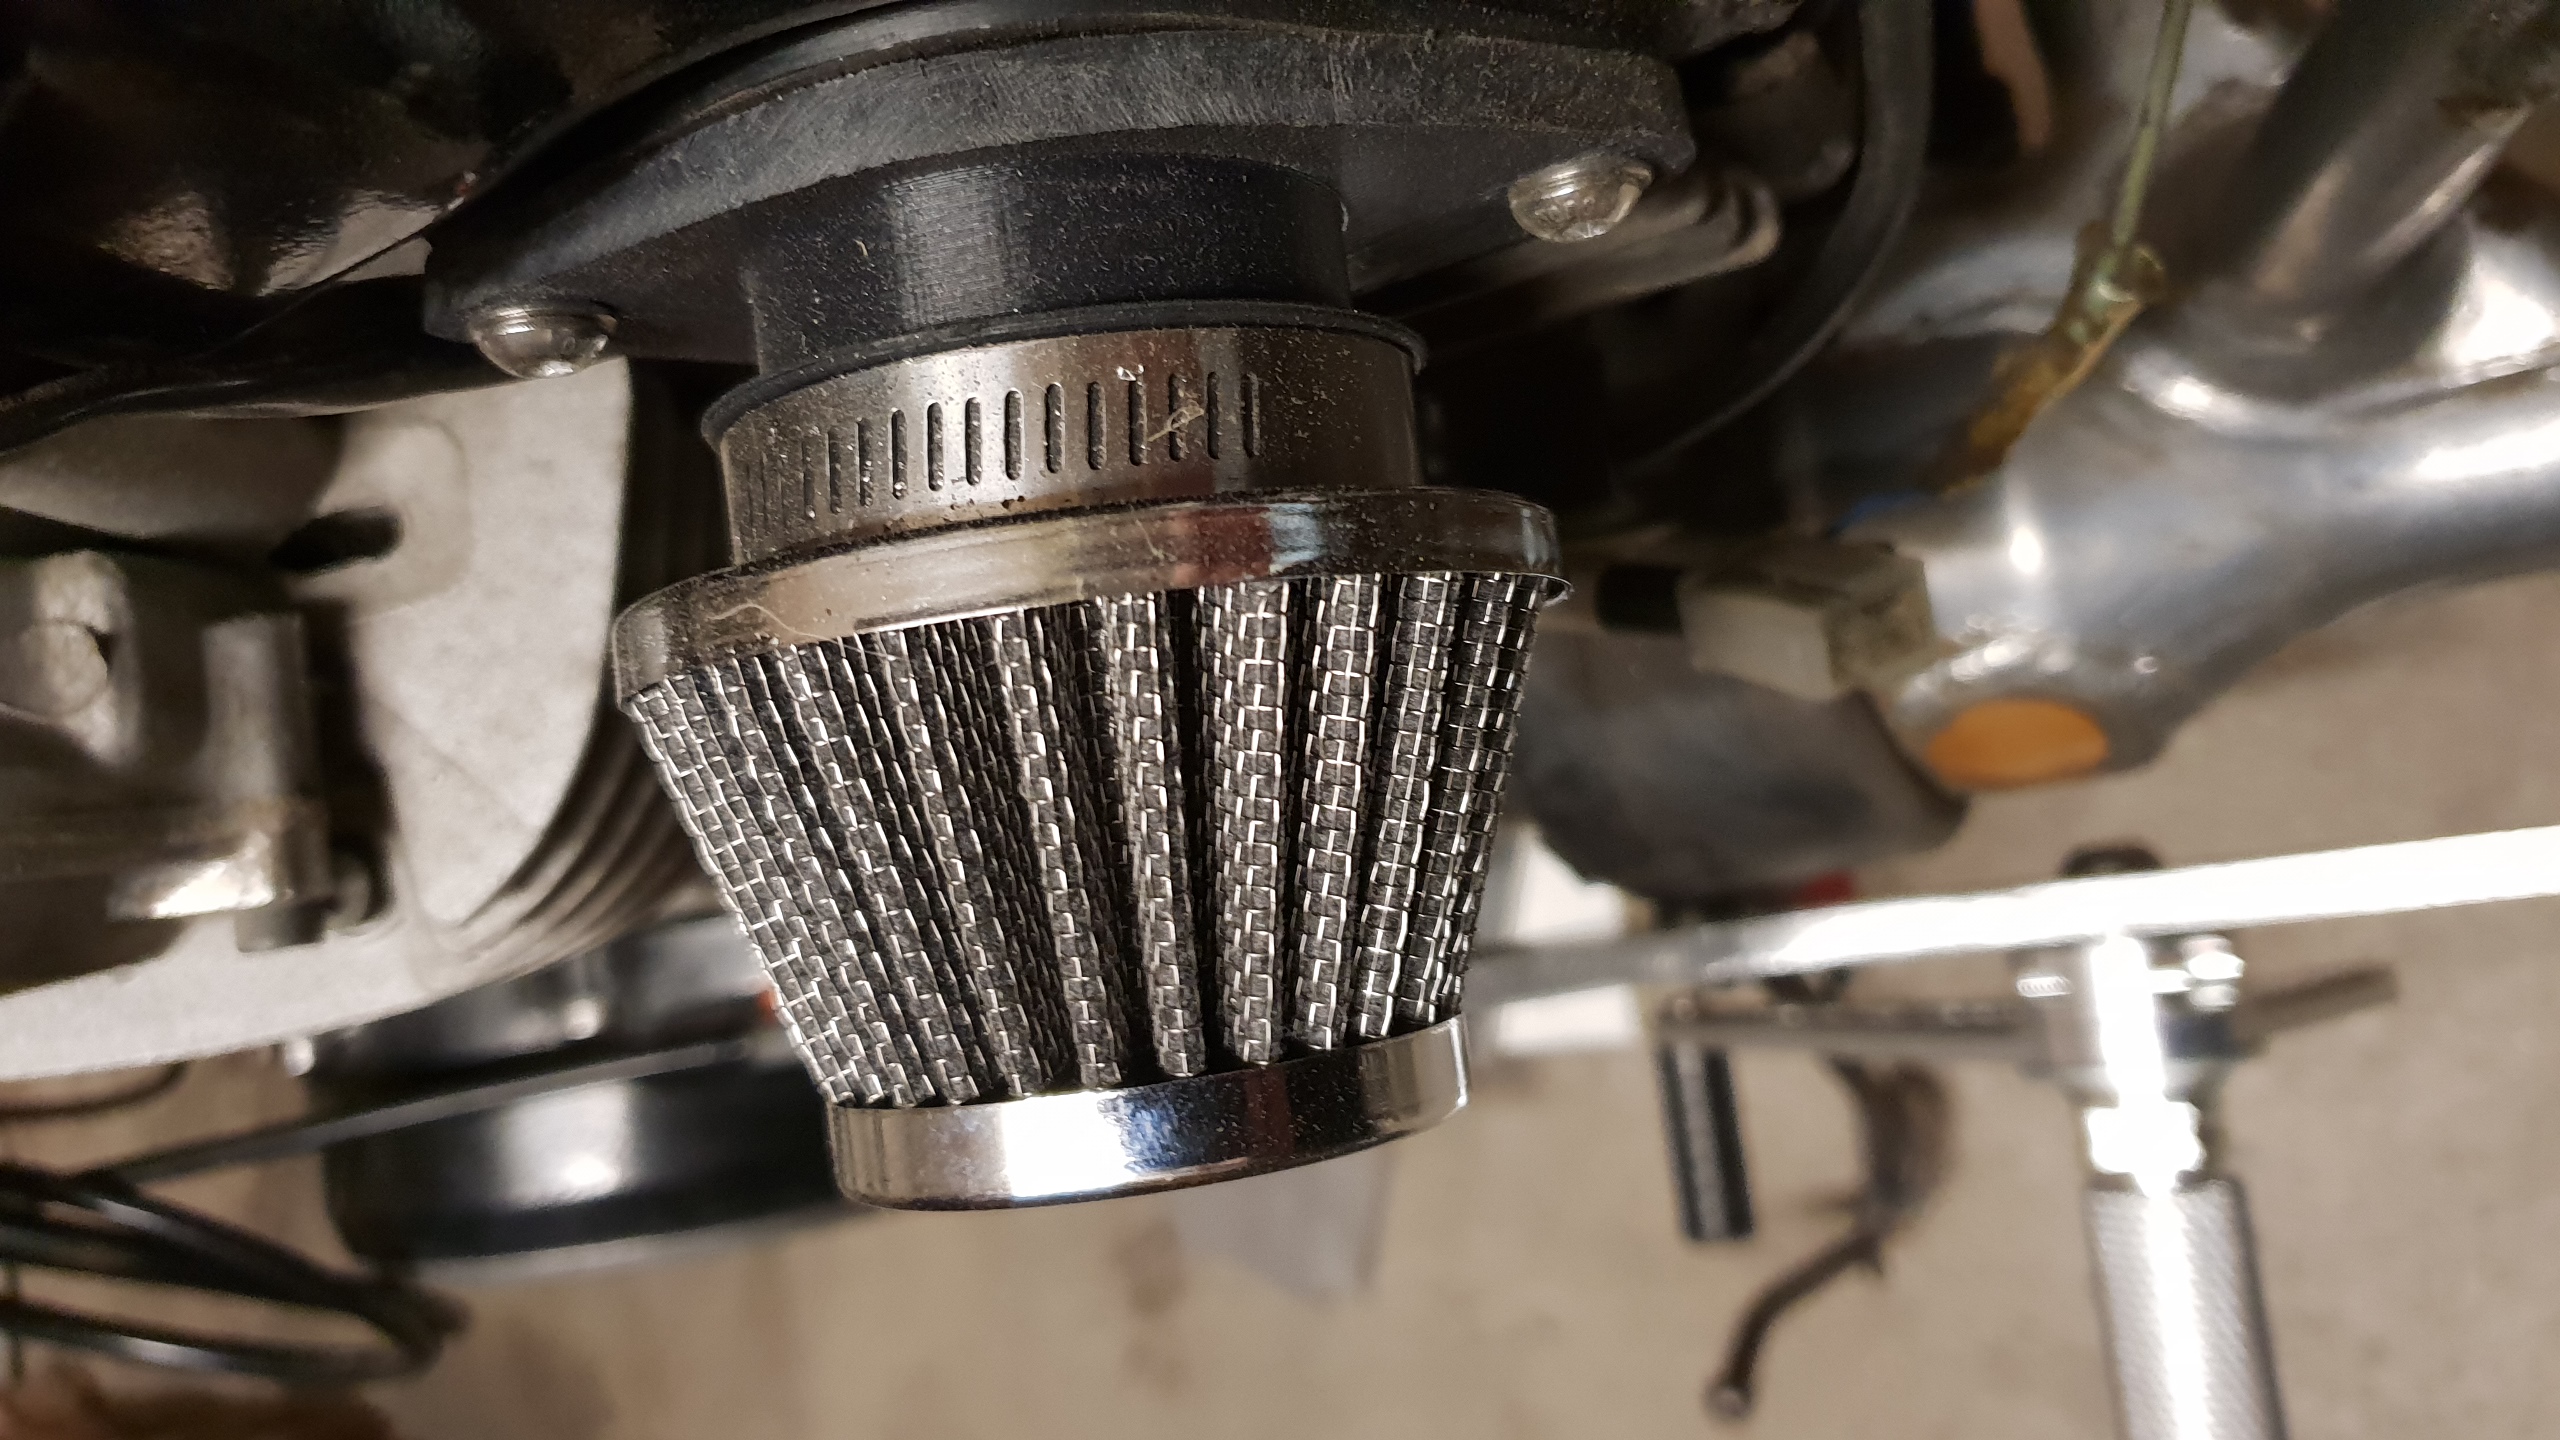
I wanted a to run a single air filter still feeding the carbs through the frame tube, and an appropriate adapter stub was not easy to find, but my local 3D. printer came up trumps with a neat solution for little money. My hope is the more restricted filter area should match the more sporty exhausts without the need for re-jetting. The bike was running fine so luckily the carbs didn't need cleaning, although I did remove the unnecessary mixture control valve fitted to these US bikes and blanked off the vacuum hoses.
Electrics
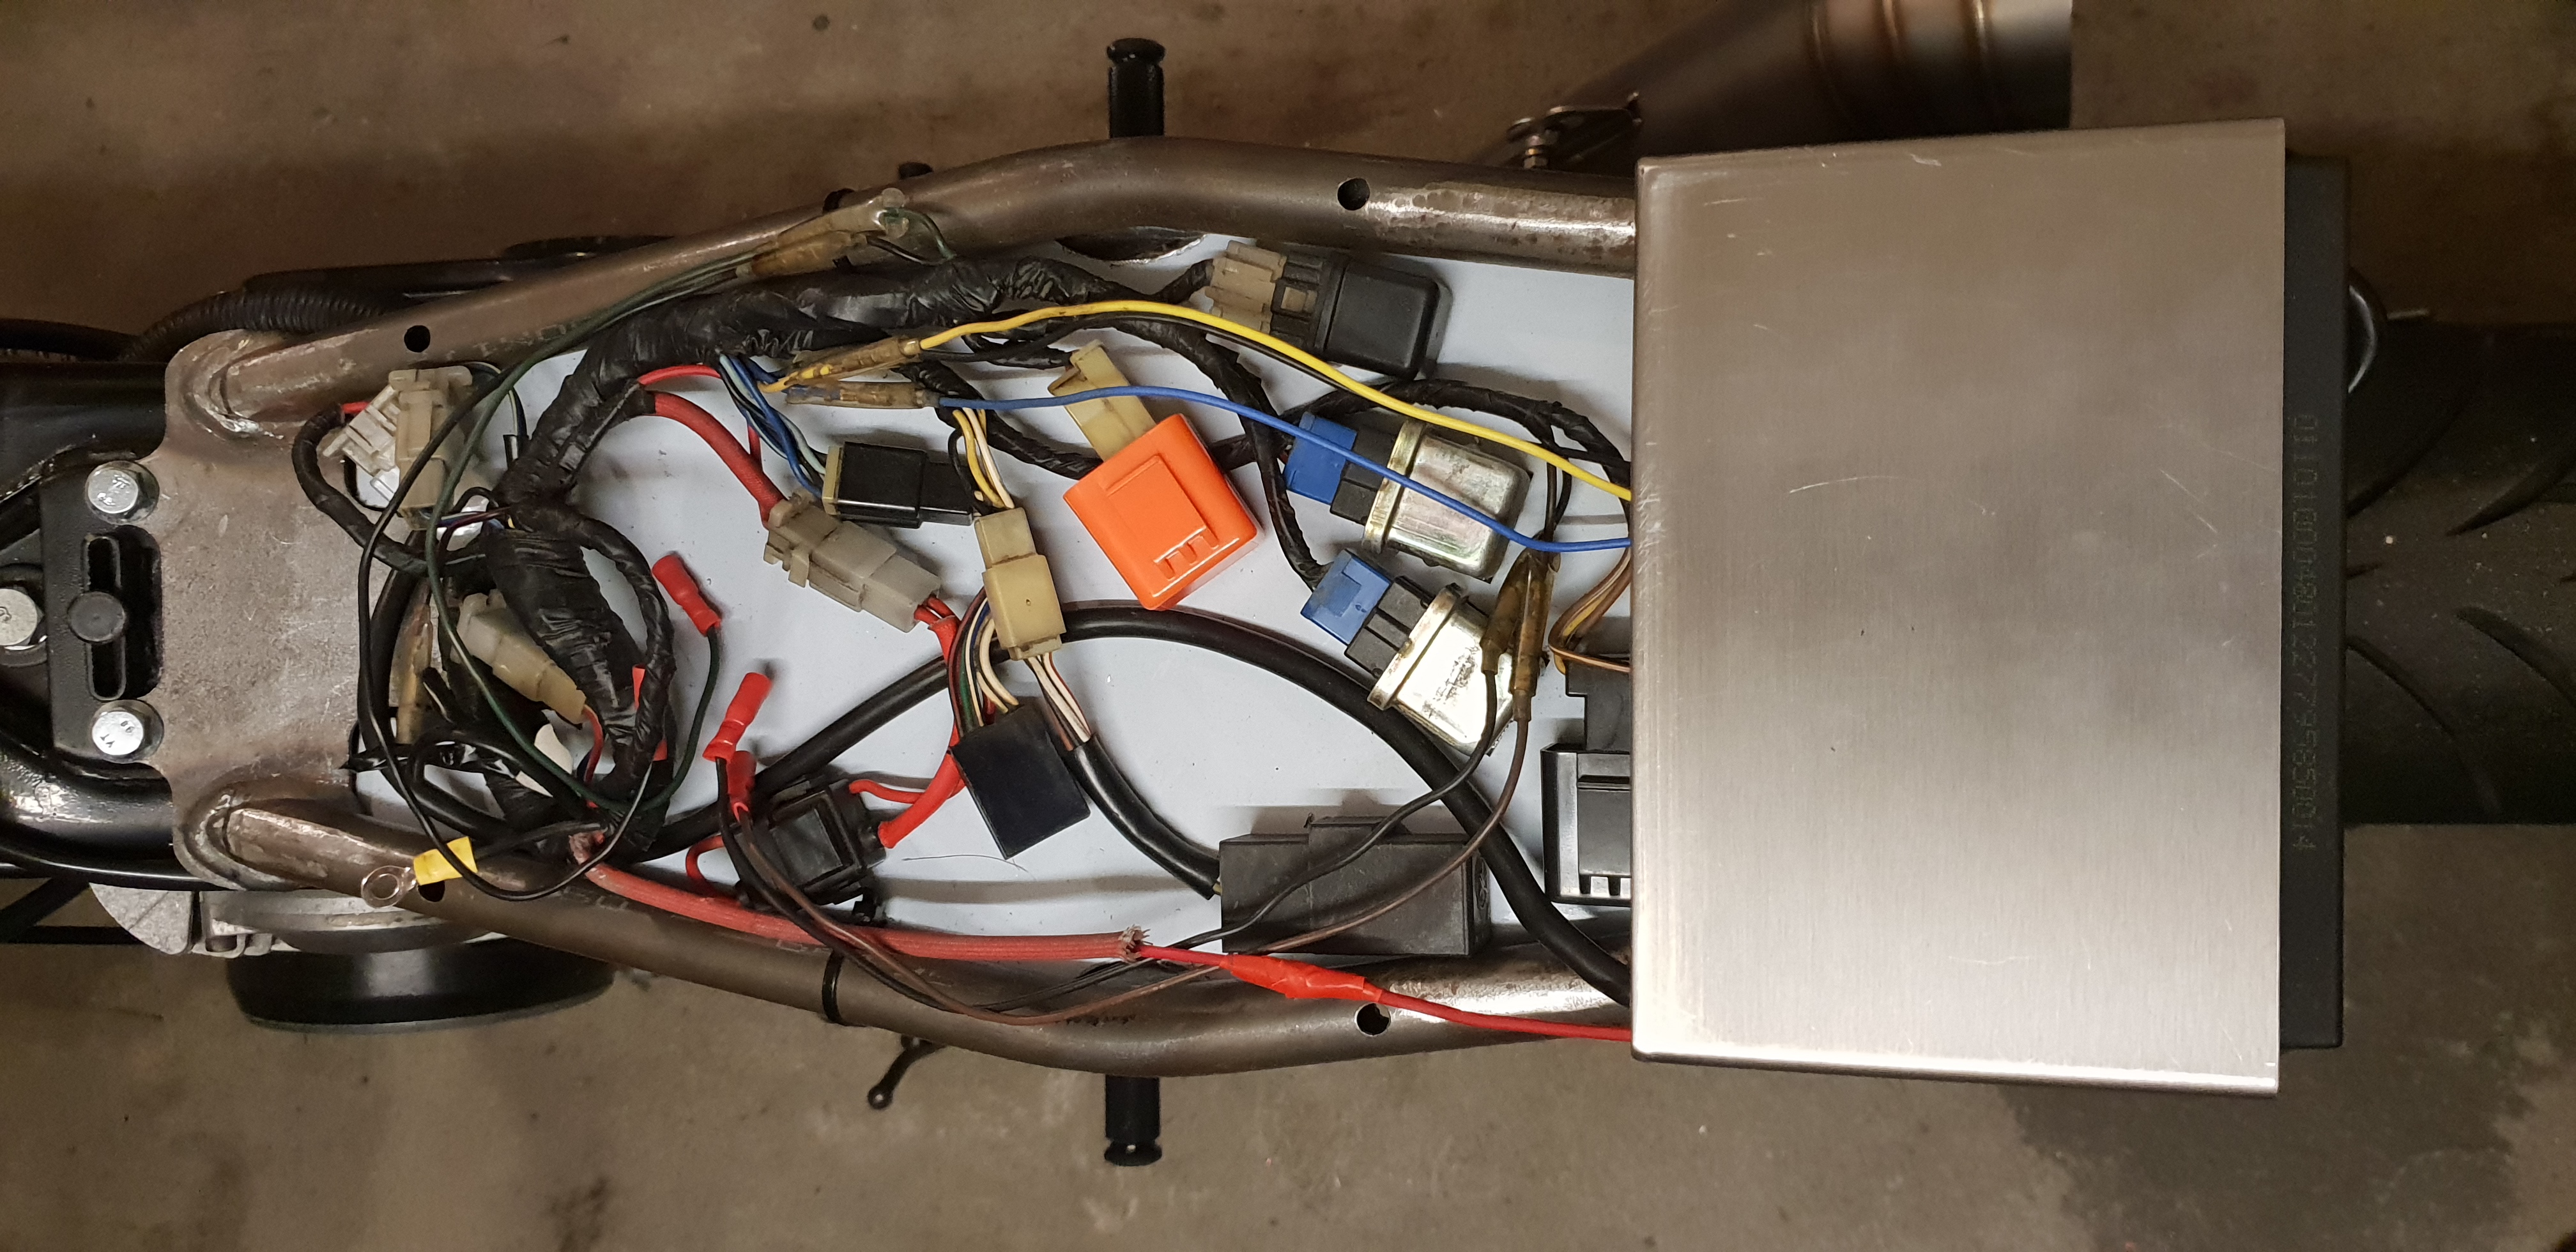
A Skyrich LTM21 lithium-ion battery was fitted under the seat hump in a bespoke stainless holder, along with a compatible regulator under the air filter. Similarly small LED indicators (using the standard mounts at the front) along with a compliant relay. The relays and associated wiring were all seated on an aluminium plate attached to the underside of the new subframe. A bespoke, lengthy battery-to-starter cable was fitted, the relay now mounted behind the right-hand footrest hanger.
Exhausts
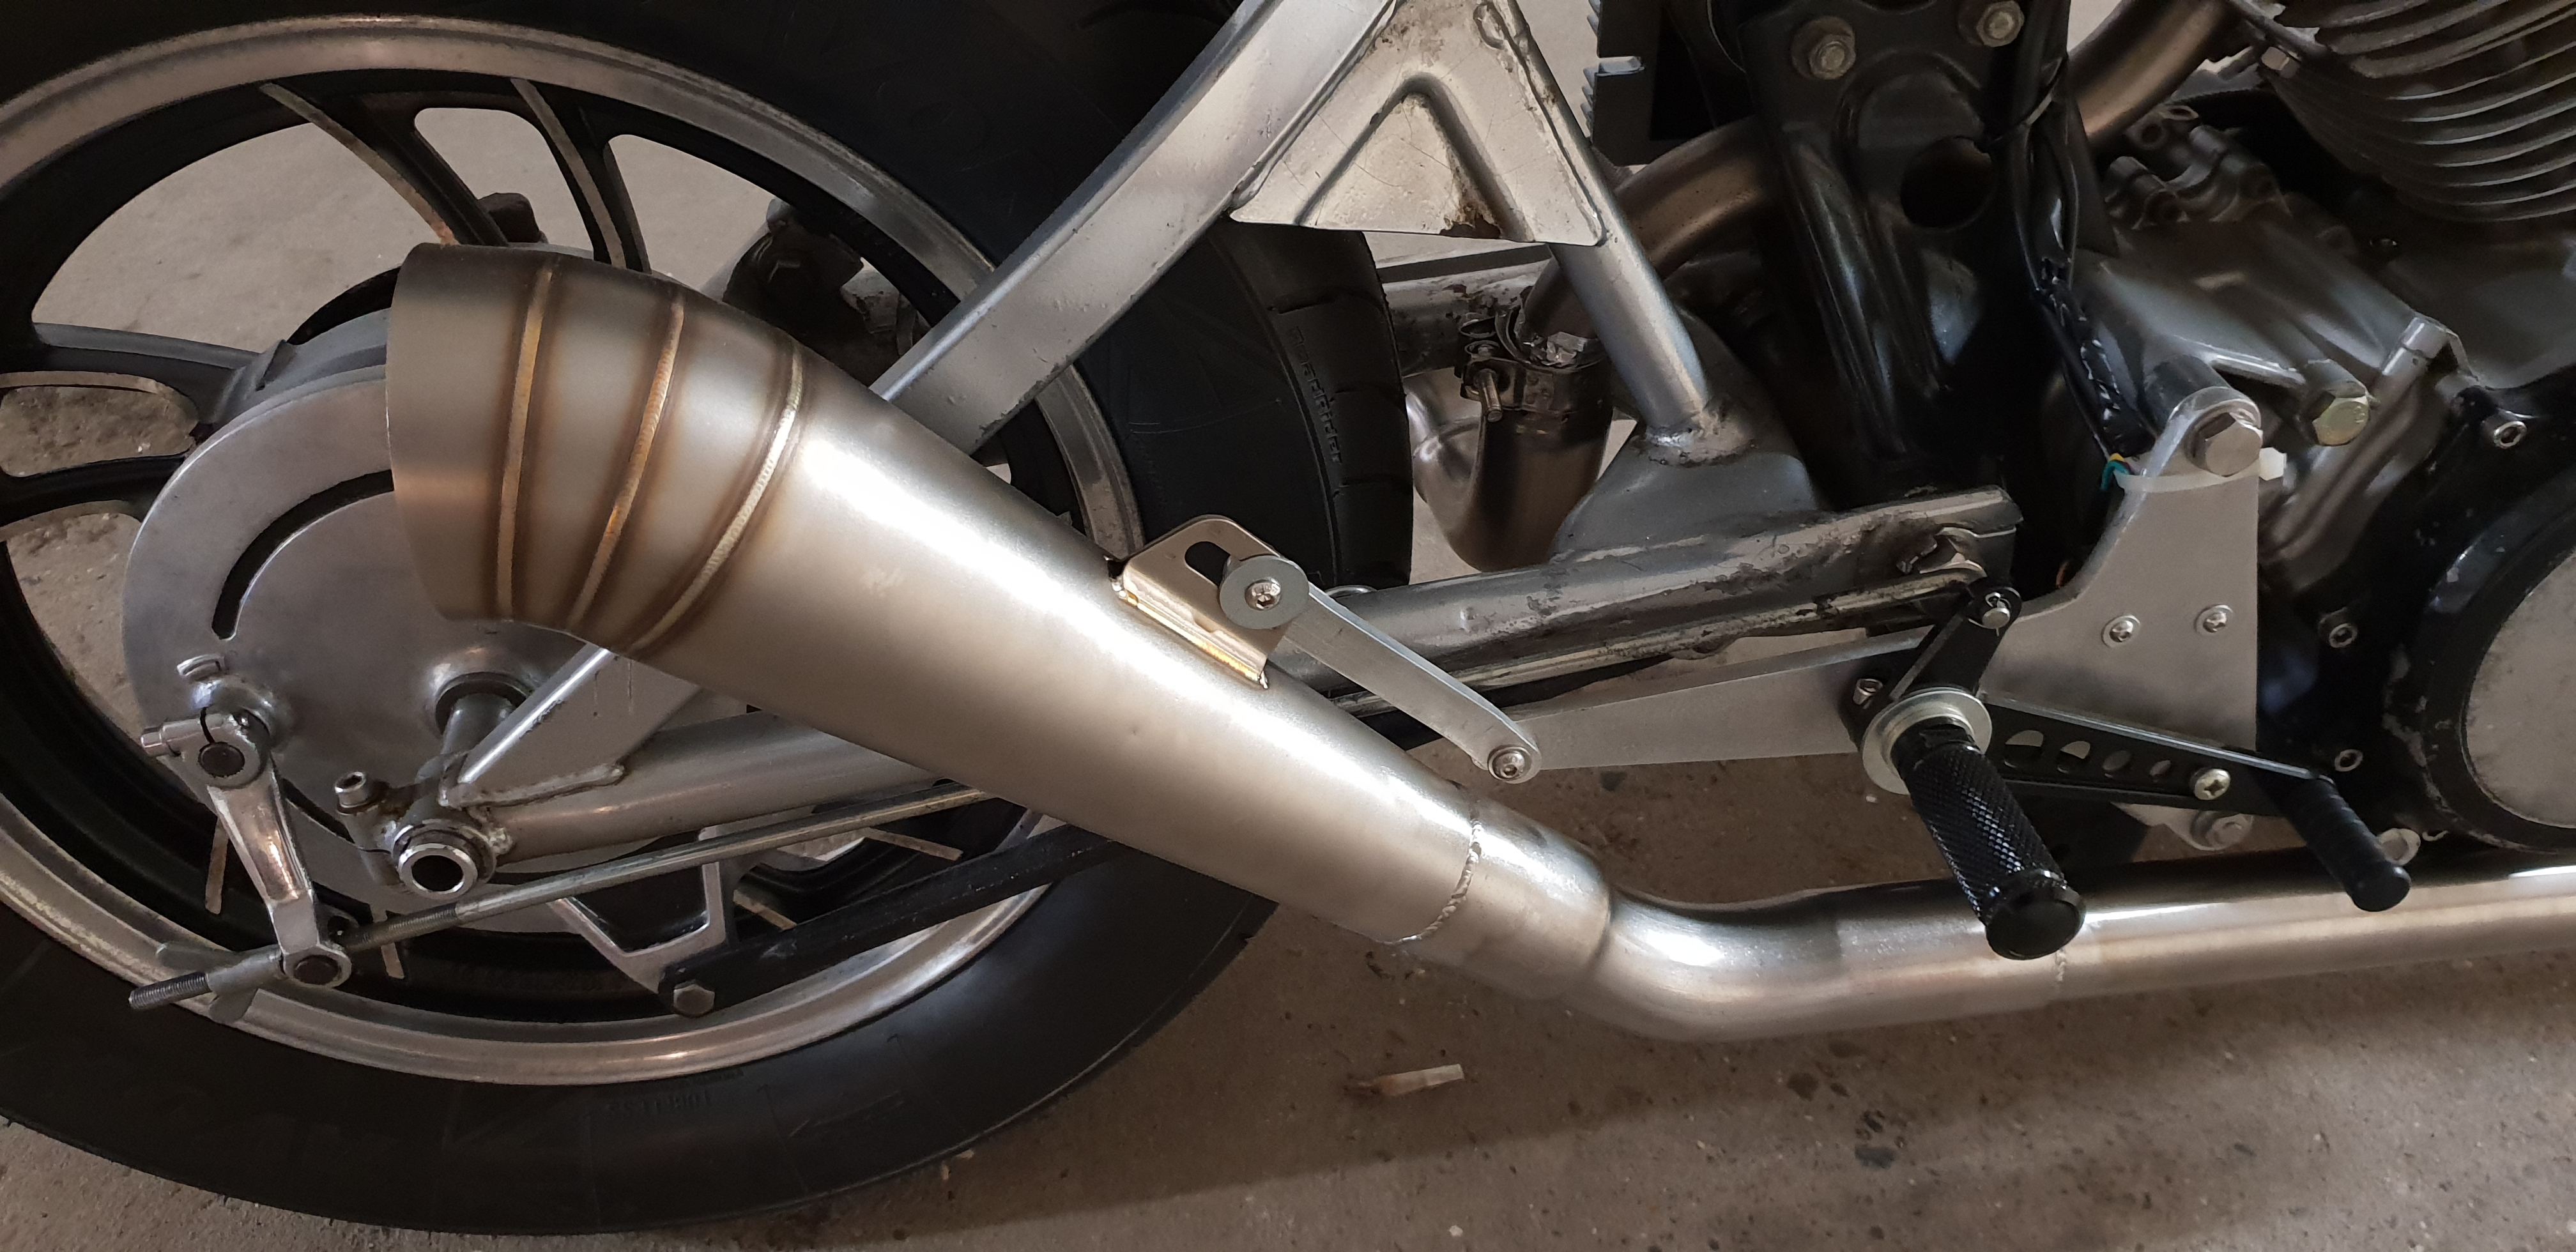
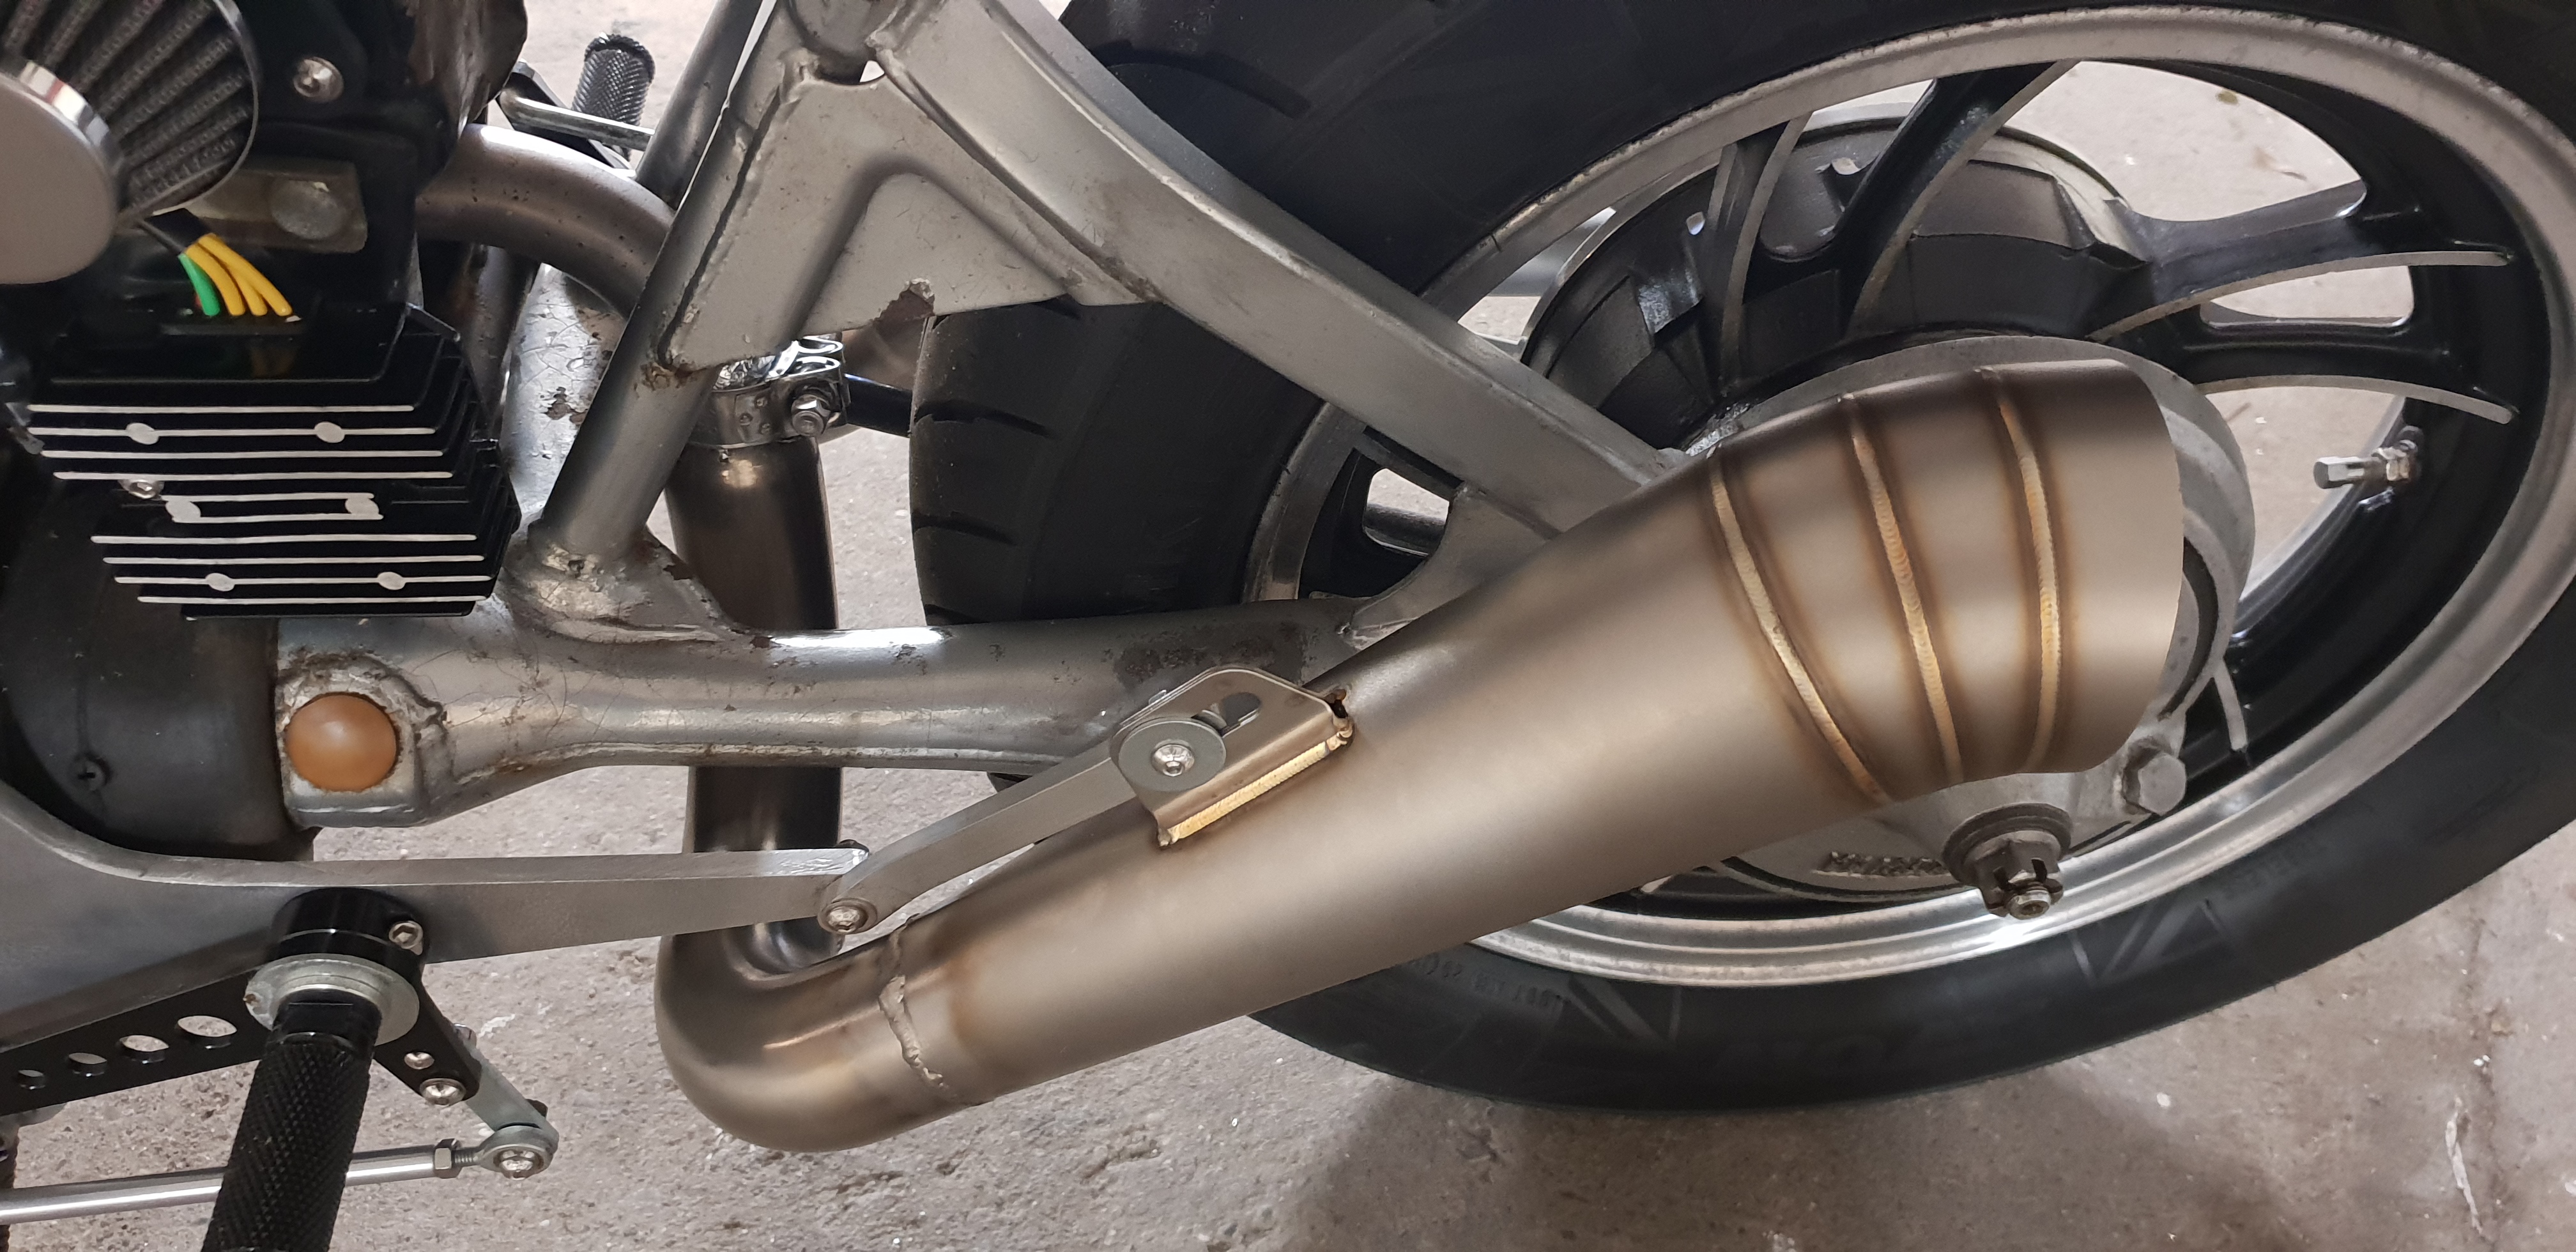
Many such bikes sport a two-into-one system but I much preferred separate pipes, so acquired two moto-gp style end cans. I would have loved to mount them under the seat but the routing and heat insulation would have been too problematic. With no bespoke exhaust fabricators on Island I mocked up a new system, acquiring appropriate stainless tube and bend/adapter pieces, then had them welded together by good friend Steve Ault. Support was provided by mounts extending from the rear of the new footrest plates.
Engine
Everything was left as standard except the black covers on either side looked scruffy so needed removing and respraying. The clutch cover was easy enough. However the manual fails to give proper instructions for removing the alterator cover, failing to mention that the starter-gear shaft can remain stuck therein such that the sprung-loaded ensemble falls out on removal. Grrrrr! A top tip on reassembly is to hold the gears, spacers and compressed spring in place with a ruler and then slide it out when the cover is close to being in place.
Riding
The bike starts and runs remarkably well given all the changes, and allowing for the awful din from the starter clutch (an ever-present Virago problem). Initial impressions are that it handles equally well, all things considered. It isn't fast by any means, but it carburates cleanly. sounds magnificent, and will be great for occasional, relaxed outings. What more could you ask from a budget built?
Postscript
After a very brief initial shakedown run, the left-hand carburetor started to flood badly. Initially this was just with the engine running, filling the exhaust with unburnt fuel. But then it started to do it as soon as the left fuel tap was turned on. Of course I inspected and cleaned the float seat, checked the float level etc., but could find nothing wrong. The OEM twin Hitachi carbs are notoriously painful to work with, especially with all the vacuum pipes and so on, and they're an absolute pain to get on and off... until you've done it enough times to get the knack.
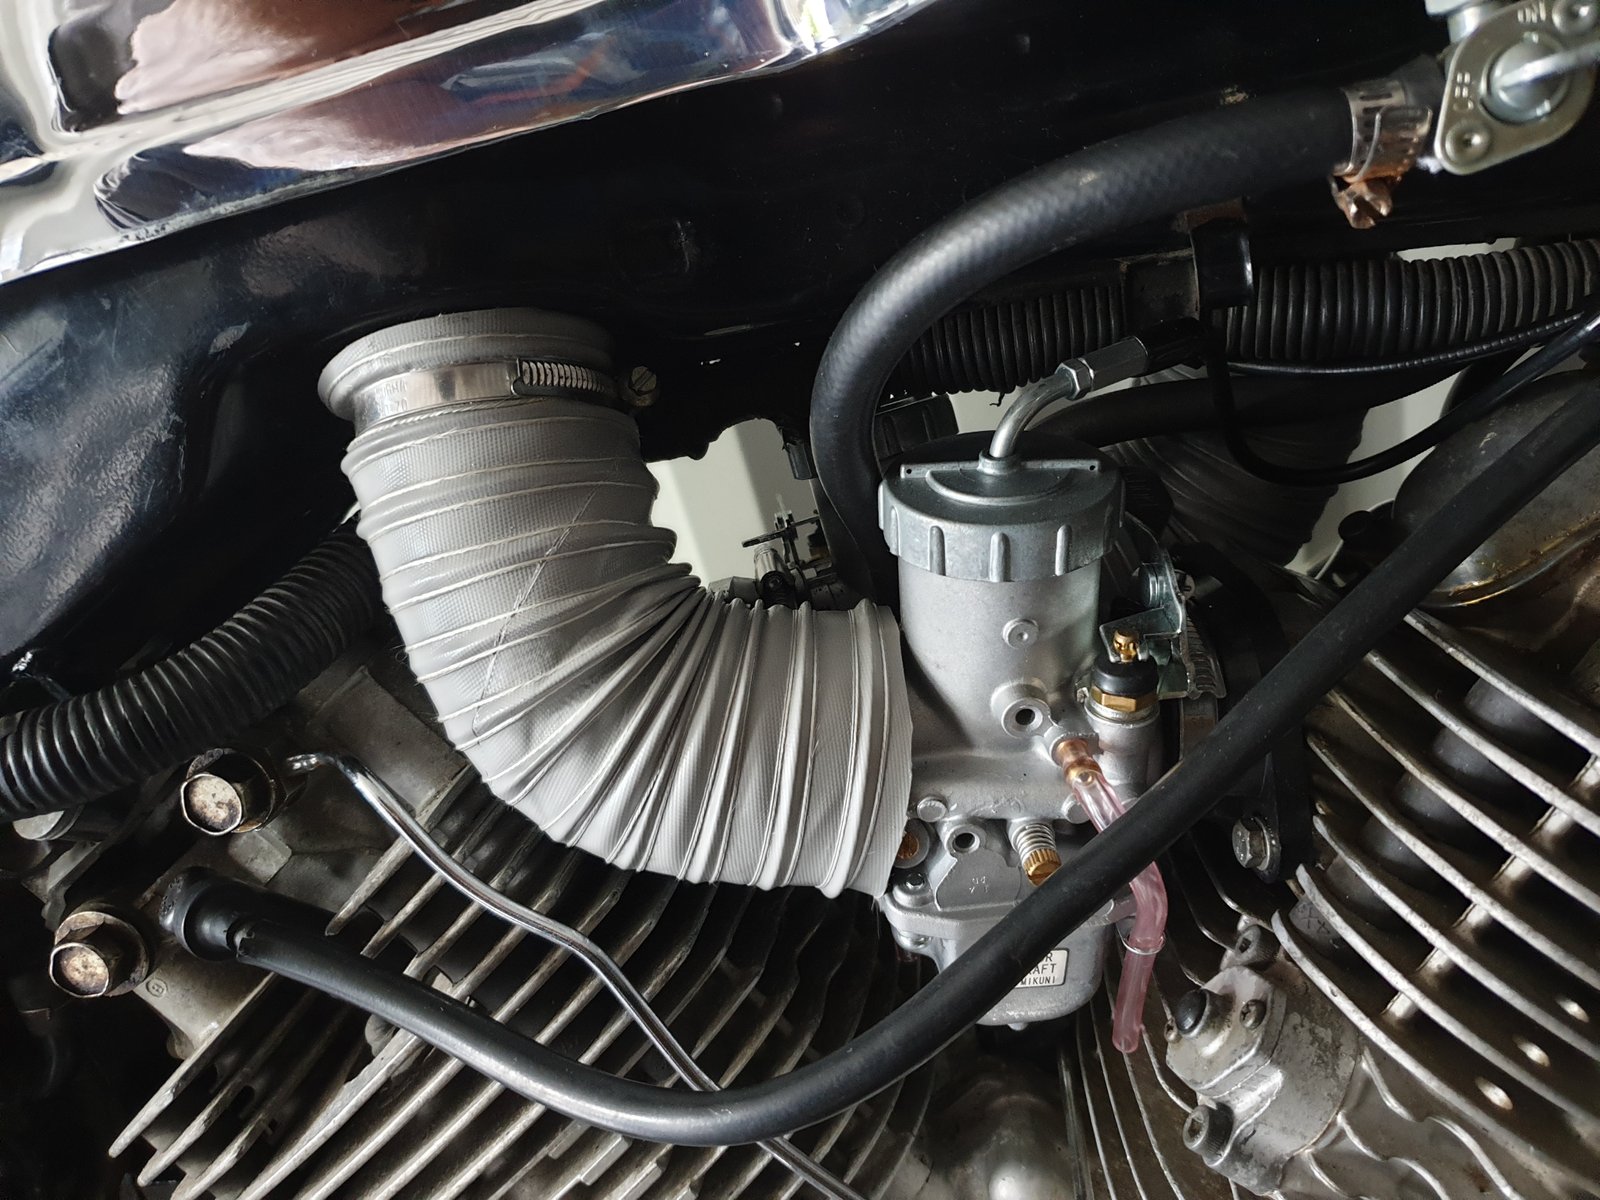
In any case I got really fed up with it, and other projects and race bikes began to take priority. So it wasn't until more than two years later that I invested in a pair of twin VM38 Mikunis with matching two-into-one throttle cable as a kit pre-jetted for the XV920, supplied by Tom at MikuniOz down under. These are separate carbs, and incredibly easy to get on and off. I had some problems with the inner cables being too short and giving me no slack in the slides, but a bit of fiddling around did the trick. Similarly the original air intake pipes didn't fit because the inlet of the Mikunis is 2.5" OD, 0.25" larger than the Hitachis, so I cut lengths of 2.5" ID flexible silicone tube to fit, and used large jubilee clips to take up the slack on the frame stubs.
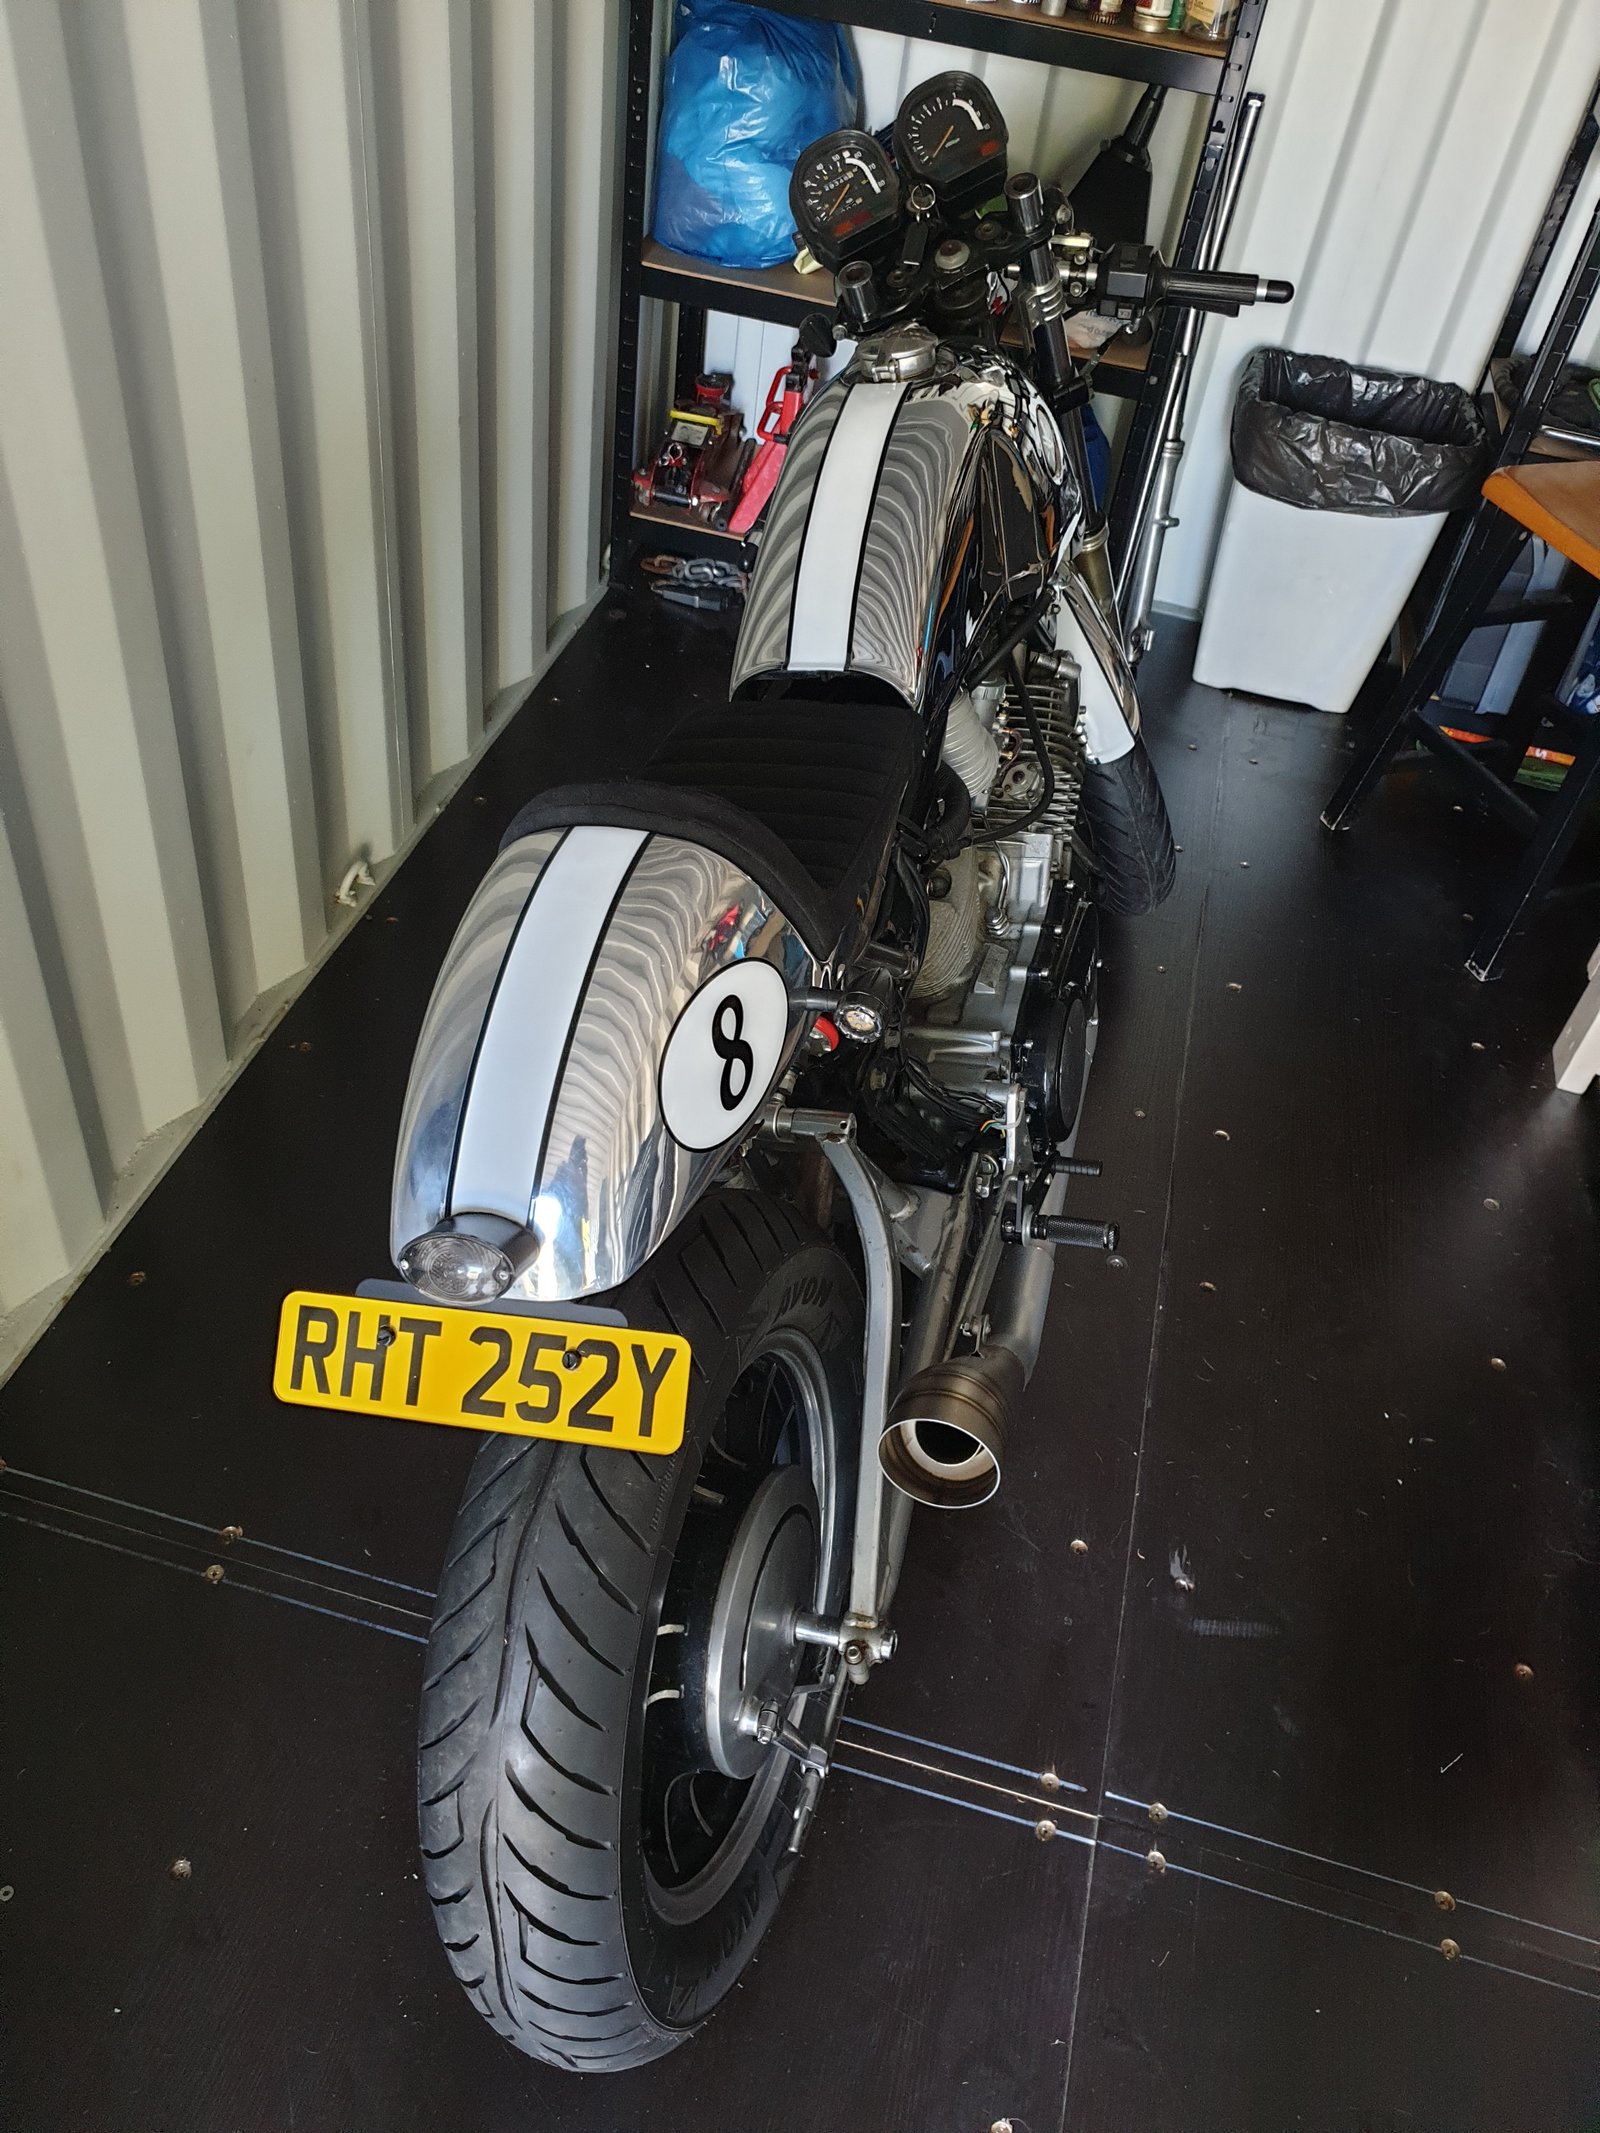
A little playing with throttle stops and mixture screws and finally, again, I do have a bike that carburates well, sounds fantastic and rides nicely... it was all worth it in the end. And as a present I gave the bike a thick white stripe with black pinstripes to finish it off aesthetically.